Friday, August 5, 2016

IITBS-- Crystal of The Cloth Albatross (QAYG tote)


Today's post is from Crystal from The Cloth Albatross. Crystal is an incredibly talented bag maker and sewist and I am always in awe of what she creates! She makes absolutely stunning bags and I love the way she uses design elements and mixes fabrics to make her bags pop!

Check out some of her crazy awesome bags:


When I first asked Crystal if she would be a part of the series, I immediately thought of some of the gorgeous QAYG bags she has created, this was one of my faves:


In addition to sewing up these gorgeous bags, Crystal has also designed her own bag pattern which was published by Blue Calla Sewing Patterns. You can get your copy here, or head over to The Cloth Albatross Shop on Etsy to see what yummy bags she currently has for sale
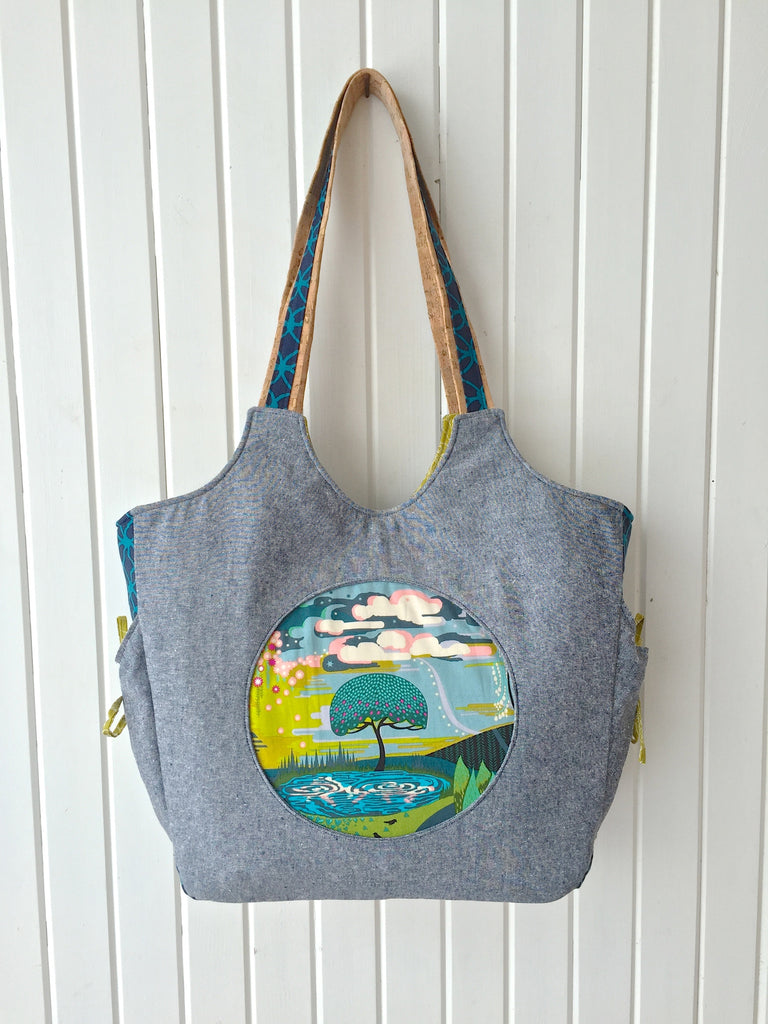


You can get your copy here, or head over to The Cloth Albatross Shop on Etsy to see what yummy bags she currently has for sale
.......................................................................................................................................................


Hi, I’m Crystal of the Cloth Albatross. I am so excited to be included in this bag making series. In this tutorial, I’ll go through the method that I use for incorporating quilt-as-you-go (QAYG) into bag making.

Initially, I was going to write up a simple tote pattern but then I realized that Sara of Sew Sweetness has already written a free tote bag pattern using batting as interfacing, and it’s adorable. Here is the link to Sara’s Sawyer Bag tutorial.

I really like the proportions of the Sawyer Bag with the handle extenders giving it a unique look. I decided to accentuate that feature by having a top band, that ends where the handle extenders do, connected to a QAYG panel.


After you’ve looked over the Sawyer Bag tutorial, look back to the supply list and make the following changes:

  • You will only need 1/4 yd exterior fabric
  • Change ShapeFlex quantity to 1 1/4 yds
  • If you have batting scraps, you will not need to purchase batting yardage.
  • Omit Pellon 805 Wonder Under (since we’ll be quilting our batting, we do not need to fuse it to our exterior fabric)
  • Add 1/4 yd Pellon Fusible Thermolam Plus (fusible fleece)*

*The fusible fleece is for interfacing the top band. If you don’t have this on hand, you can use Wonder Under to fuse batting, or quilt batting to the top band. Basically, use what you have or the supplies that you’re most comfortable working with.  

Cutting and Interfacing Top Bands

Exterior Fabric:

Cut (2) 9” H x 16” W

Shapeflex (woven interfacing):

Cut (2) 9” x 16”

Fusible Thermolam Plus (fusible fleece):

Cut (2) 8” x 15”


After you’ve cut your fabric and interfacing, fuse the Shapeflex to the wrong side of your exterior fabric. Once the Shapeflex is fused, center the fleece over it. The fleece should be 1/2” in from each side so that it stays out of the seam allowance (SA) and reduces bulk.

Piecing/Cutting Batting

If you don’t have batting scraps and are cutting your batting from yardage, cut (2) 11” x 17” pieces. You will be trimming these pieces down to 10” H x 16” W after they’re quilted. Quilting tends to distort fabric, so the extra inch on each side gives some leeway for it to be squared off once you’re done.

If you’re piecing your batting, take 2 strips to your cutting mat and overlap them by ~ 1” on their longest edge. Cut along the overlap. This cut will make the batting scraps easier to butt up against each other when you join them together.


Take your batting pieces to your sewing machine. Put on your walking foot attachment and set your machine to a joining stitch. On my Janome, I use stitch #16. A zigzag stitch would also work. Center the seam of the 2 batting pieces in the center of your walking foot. Guide both pieces through as you stitch. The batting may get a little wonky – that’s okay. It doesn’t need to be perfect since we’ll be squaring up our panel once we’re done quilting.


Join batting scraps together until you have (2) 11” x 17” batting pieces.

If the seam in the batting makes you uncomfortable, you can fuse a scrap of SF101 over the seam. I don’t usually do this if I’m quilting something but it doesn’t take much time.


Choosing Fabric Scraps

I like to choose a theme when I’m doing QAYG so that it doesn’t seem too random. Since I am using B&W fabric for my top bands, I chose a B&W focal print to match. I decided to do solids with it. I didn’t want a rainbow look (this time) so I opted to go for cool color solids. You could do rainbow, warm tones, geometrics, or florals. Really there are no rules, just choose scraps that you will be happy working with.


It would make more sense to choose a central design that’s wider than it is tall since the QAYG block is a wide rectangle. So take that into consideration when choosing your central design. The reason this is important, is that we will be doing log cabin style piecing (going around a block in the center with strips on the outside) and the tops and bottoms of your block will get completed before the sides do since there is more room on the sides. It’s not a big deal – you can just add strips to the sides, but if you want the same number of strips on the top and bottom as on the sides, you’ll want to use narrower strips on the top and bottom and a wide rectangle for your center design. This sounds complicated but it’s not and will make more sense after you look at the pictures of how the block is laid out.

QAYG

Take your (2) 11” x 17” batting panels and mark a 10” H x 16” W square in the center. This is not necessary but it will help you see approximately where you will be trimming your panel down to so that you don’t do a lot of unnecessary quilting that won’t be seen. While you’re marking your square, mark the very center of the panel so that you know where to place your central focal square.

Place your focal square, right side up, in the center of your batting. You can pin it or spray baste it in place if you’d like, but I normally just hold it in place until I quilt it. Change your stitch length to at least 3.5 mm and decide how you want to quilt your design. I chose to quilt my central square differently than the rest of my panel. I used diagonal lines on it and vertical and horizontal lines on the side strips. I don’t mark my lines on smaller projects, but if you want really straight quilting lines, you can use painter’s tape to mark your lines. It’s repositionable so that you can use the same piece a few times. Just stick it on the top of your project and quilt right along the edge of the tape. I normally just pick a place on my walking foot and use that as a guide for how far apart I want my quilting lines.


After you’ve quilted your central square, measure the top edge and cut a fabric scrap to that length. The width of it doesn’t matter – it’s a personal preference on how wide or narrow you want your strips. I kept the width of my strips between 1.5” and 3”. (I varied their widths.) Place your fabric strip, right side down along the top edge of the central square and sew it in place with a 1/4” SA. Press the SA toward the top strip and quilt the strip.


Once you’ve quilted the top strip, measure the right edge of your quilted piece and cut a strip to that length. Lay the strip right side down along the right edge and stitch with a 1/4 SA. Press the SA towards the right strip and quilt.


Once you’ve quilted the right side strip, measure the bottom length of your quilted piece, cut a strip to that length. Sew the strip with a 1/4 SA. Press the SA towards the bottom strip and quilt the bottom strip.

Once the bottom strip has been quilted, measure the length of the left side of your quilted project. Cut a strip to that length. Sew the strip to the left side of your project with a 1/4 SA. Quilt the strip.


Now we’ve made it all the way around our central square. We’re going to continue this pattern until we’ve quilted our entire piece of batting. Since we haven’t been completely exact with our cutting and measurements (or at least I wasn’t), there will be some pieces that jut out, that’s fine, they will get quilted over. Just make sure to align your fabric strip against the most sunken in piece so that there are no raw edges peaking out from your quilted block.


After your batting is completely quilted, take it to your cutting mat and trim it to 10” H x 16” W. Your QAYG panel is finished!


Finishing Main Panel

Get your top bands. We’re going to piece them together with our QAYG panels. Place a top band right side together along the top edge of your QAYG panel. Stitch together with a 1/2 SA. Press the seam toward the top panel. Topstitch the seam ~1/8” from the edge.


Now your exterior main panels are finished and you can proceed with Sara’s Sawyer Bag Tutorial. I hope that you found this tutorial helpful and that you’ll make a QAYG bag. If you do, make sure to share it on Instagram with the hashtag #sawyerbag.


IITBS-- Bobbin Girl Handbag Making Supplies & Haberdashery


I'm so glad to announce that there will be a SECOND give away today, sponsored by Bobbin Girl Handbag Making Supplies & Haberdashery. For UK bag lovers, Bobbin Girl offers high quality bag hardware and bling to make your handcrafted bag shine!


Bobbin girl also carries a wide variety of hardware kits for specific patterns as well as the interfacing kits for your conveince! Just pick out the pattern you want and then pick up the kits, it's easy peasy!


The Penny Inn Hardware Kit


The February 2016 BOMC kit for The Window Shopper Tote


Bobbin Girl has generously offered one lucky winner a £15 shop credit! Go check out the shop to pick out your favorite items, and like her on Facebook to stay up to date with new products for your bags. Her Instagram feed is also a great source of inspiration if you are looking for a new bag pattern or some new bling to take your bag making to the next level.

a Rafflecopter giveaway

IITBS-- Blue Calla Patterns GIveaway


Today's giveaway sponsor is Blue Calla Patterns. Blue Calla Patterns offers a wide and eclectic range of modern and functional handbags for all levels of sewists. I really love the variety of patterns to choose from, and the details that are in the designs that allow for so much variation in the look of each finished bag. 

I discovered Blue Calla patterns through Instagram and fell in LOVE with the design of these patterns. They are unique yet classic and the details make them look so professional. I have so many of these patterns on my "must sew list". Some of my personal favorites are:

The Calla Convertible back pack:


The Daisy Cross Body Bag:


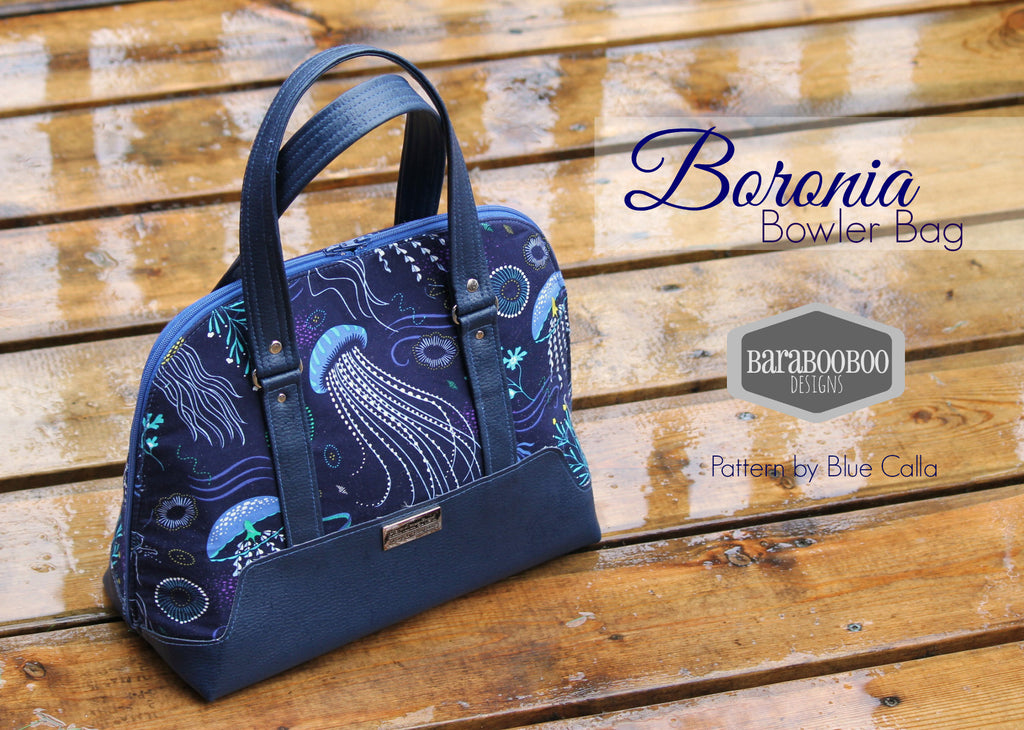
The Boronia Bowler Bag:


And the newest release, The Trillium Tote Bag:


Celine is generously giving away 3 pdf patterns of one lucky winner's choice. There are so many gorgerous choices, I know it'll be hard to pick just three!!


Join the Blue Calla Sewing Patterns group on Facebook to see some INCREDIBLE bags and some inspiration to get sewing the bag of your dreams. 


Follow along on Instagram to see when the newest designs are being released


a Rafflecopter giveaway

Thursday, August 4, 2016

IITBS-Bree of My Crafty Crap Zip Tips


Today's guest blogger is Bree of My Crafty Crap. I met Bree through pattern testing for Sara of Sew Sweetness and then I started stalking her Instagram feed to see all the amazing bags she has made (she knows I stalk her so it's ok). She always floors me with the quality of bags of all types she creates! She is truly a bag making guru! I'm so exciting that she will be joining us today to share all of her zip tips!  Check out some of the incredible bags she has made: 


Thanks for having me today, Cyndi!  Bree here from My Crafty Crap, I’m so excited to be sharing for such a wonderful series.  I’m going to share some of my favorite tips & tricks that help me get great results, some tools that have changed my life, and a few of my favorite zipper tutorials.

The first thing you need to remember about working with zippers, is that you absolutely can do it!  Yes, they can be intimidating, there are so many tutorials and types of zippers out there, it can be hard to know where to start.  But don’t be afraid!  The most important things are to be patient, take your time, and practice!

So let’s talk zippers!  There are so many different kinds and sizes of zippers to choose from, it can be a bit overwhelming.  Here’s a great description of the different types of zippers and other general info from Sew Mama Sew: A Guide to Zippers.  

Some people prefer the look and feel of metal zippers, but personally I prefer nylon since they can be easily shortened (but don’t use your good scissors!  Ask me how I know…) and sewn over (just take it slow!).  I like to keep a few on hand at all times (those of you who know me might know that “a few” actually means 100+…I just love having the perfect choice on hand & not stalling a project to wait for hardware!) in a variety of styles, length, and colors.  Personally I mostly buy 18” and 24”, since a lot of bags need long zips and I always save the pieces I cut off if they are more than a few inches long.  You can buy new sliders & pop them on the piece you cut off and get two zips for the price of one.  Dog Under My Desk has a great video for reattaching a slider to the zipper tape if you are making a second zipper, or just accidentally pull off the one you’re using.  I wish I had found this video a long time ago, I threw away so many zips I thought I had ruined by cutting off the excess before moving the slider (but it so much easier to cut when it’s zipped closed…lol…) or accidentally zipped it right off the edge before sewing a new stop.

A note about buying new sliders & attaching them to your cut off pieces – you have to be careful to make sure you are getting the same size/style/brand of slider that is made for the zip tape.  YKK sliders won’t work on Coats & Clark zippers & vice versa.  I get pretty much all my zippers from Zipit Zippers on Etsy (I’m not getting paid to say that, I just really love their selection!) and she has recently started carrying sliders (zipper heads) for both #3 all purpose zips as well as the #5 handbag zippers.  I’ve found it’s also fun to mix & match colors this way like I did on these sunglasses cases.


My favorite, and maybe a little unconventional, tools when it comes to working with zippers are Dritz Wonder Tape and the Clover Fabric Folding Pen (both available on Amazon as well as craft stores & some Walmarts).  Seriously, sometimes I’m not sure how I sewed before I got these two.  

I now use the Wonder Tape in place of pin basting for so many things, but especially when holding zippers in place before sewing them in.  Even with lots of pins, zippers & fabric (especially if it isn’t interfaced) will still shift and stretch ever so slightly.  It may not seem like much, but even a little bit can cause problems down the road and leave you with a wavy zipper.  Nobody likes wavy zippers!

I probably had the Clover Fabric Folding Pen in my Amazon cart for a year before I finally ordered it, but I wish I had gotten it so much earlier!  I can’t remember where I first saw it, but while it’s geared more towards quilters, I quickly realized it’s indispensible to my bag making.  I use it for folding over small edges on labels or zip ends, which keeps me from constantly burning my fingers.  It’s great for folding in your seam allowance on the opening left for turning out a bag (I usually run it along the stitching line, then user Wonder Clips to hold it in place until the solution dries, or hit it with an iron to set it quickly.  If you turn your bag while it’s still wet, it can cause the fabric to stretch along the line & not fit as nicely), or folding down a seam allowance if you are inserting a lining by just dropping it in to the exterior.  

By far though, my favorite use is to get a perfect (or as close to perfect as you can get) opening for a inset zipper pocket.  How many times have you cut & pressed that opening, but still had scrunchy corners (technical terms here!) or too much of the facing showing or it pulls down the top edge?  I have found that by using the Fabric Folding pen along the stitch line after sewing around the box (on both sides), I am able to get the window to turn out much nicer & more flat, with hardly any of the facing piece showing.  Just finger press to get the facing turned out so it’s showing as little as possible from the right side, then press with a hot iron to set.  

Here I have traced over the pink pen line with the Fabric Folding Pen


The right side of the bag panel after pressing the facing to the wrong side.  No puckers or pulling edges!

And here is the facing on the wrong side of the bag panel.  You can see there is a tiny bit of pulling in the corners of the facing, but they won’t be visible.

Personally, I prefer to have the edges my zipper tape hidden on inset zipper pockets.  I think they look nicer and more professional.  This is a pretty good tutorial from Ikatbag for making an inset zipper pocket (sometimes called a welt pocket).  I’ll be honest, it took me a long time to figure out the easiest way to do this without causing a lot of extra work, still be held securely at the top of the pocket (I hate it when the weight of what’s in the pocket pulls down on the top), and have a continuous line of stitching around the outside of the zipper opening.  I have found that by sewing the pocket pieces to the zipper prior to stitching it in really adds no extra time, but makes for a much nicer finish, and it’s easier to stitching them on first rather than trying to do it once the zipper is attached to the bag.  Simply sew your pieces on to each edge of the wrong side of the zipper tape, so that the fabric pieces are right side together.  

Right side of the zipper, wrong side of the pocket fabric.
Wrong side of the zipper, right side of the pocket fabric.

The easiest way to remember how/where they need to go is to just imagine the pocket you are trying to create.  The right side of the zipper will be against the wrong side of the bag lining and you want the right side of your pocket fabric showing when you reach into the zipper pocket.  After sewing the pocket pieces to the zipper, use a couple pieces of wonder tape or glue baste your zipper under the opening, make sure the pocket pieces are pulled out of the way, then stitch all the way around the opening, making sure to move the zipper pull when you get to it so you can have a nice, even line of stitches.  Then just sew up the sides and bottom of your pocket (I always round off the bottom corners to keep things from getting stuck down there).

I wrote this tutorial a few years ago to show how I insert a zipper for the top of a pouch, and honestly, even though I’ve learned a lot of new techniques in the past 5 years, that method is still pretty much my go-to choice when it comes to sewing zipper pouches.  The results will give you a great finish with no dented corners.  My biggest pet peeve when it comes to zip pouches is dented corners.  

Dented corners – the very bane of my existence…  This is one of my very early zipper pouches, but thankfully I learned how to avoid this, and I promise you can too!

See…nice, crisp corners with no dents.  So much better!

The only things I have changed from my tutorial above is to use Wonder Tape in place of pins & basting and I only topstitch the lining.  The biggest secret to avoiding dented corners is simply to keep your zipper out of the side seams.  Use zip ends or fold your zipper over at the start & keep them at least 1/8” inside your seam allowance.  The space between the zip end won’t be big enough for anything to fall out, but it will give your pouch the room it needs to have nice straight corners.

When I use Wonder Tape to baste my zipper to the lining and exterior pieces, I just put one piece on the top edge of the right side of the lining, place the zipper wrong side down centered & matching up the edges, put another pieces of Wonder Tape along the zipper tape, then place the exterior on right side down.  If you are questioning whether you have everything layered in the correct order (it’s sometimes hard to remember if the lining or exterior should be against the right side of the zipper {hint – it’s the exterior!}), just fold both pieces back away from the zipper & see how it will end up.  As long as you are careful with it, the tape will hold your sandwich while you double check your placement.  I still have to do this from time to time when I start over-thinking the process or haven’t done it in a while.  Then simply stitch along the edge (making sure to stop & move the zip pull!) with about a ¼” seam allowance.  

Here the pink is my exterior (right side up), zipper is already held in place right side together with the exterior using Wonder Tape, and my lining is ready to go on right side down.  The white strip is the Wonder Tape before removing the backing.

The other change I have made, which I already mentioned, is to only topstitch the lining to the zipper.  Personally, I find this step extremely important to keep the lining from getting caught in the zipper.  Some people have luck with just pressing away from the zipper, but I’d rather take the extra step to keep from getting a stuck zipper.  Instead of folding both the lining & exterior away from the zipper, wrong sides together and stitching through both (as shown in my tutorial above), pull the exterior up and out of the way, then from the lining side, topstitch about 1/8” away from the edge, stitching the lining to the zipper tape.  This will keep your lining from getting stuck in the zipper, but allows the exterior to still lay flat and away from the lining during the step when you sew up the pouch.  This means you have less bulk in the corners and they will push out nicely.  If you prefer the look of topstitching on the exterior, you can stop/start your topstitching at the same point where your zipper ends (remember, keep it out of your seam allowance!), then fold only the seam allowances to the lining side when sewing up the sides.

This is the lining of the same pouch above.  You can see there is topstitching to help keep the lining from getting caught in the zipper.

And the exterior, with no topstitching.

Then just sew up the sides, matching up the exterior pieces rights sides together and lining pieces right sides together & sew around the outside (please remember to open your zipper first!!!).  

Different pouch, but same method.  Top is the lining side, you can see that by only topstitching the lining to the zipper, the exterior and interior are both able to lay nice & smooth at the zipper (where the double line of dark stitching it), so there will be no bunching.

The above pouch completed and turned out.  No topstitching on the exterior, and even though that top band is glitter vinyl (and therefore less forgiving than cotton), I was still able to achieve nice corners.

Another great resource from Dog Under My Desk is this tutorial on sewing a perfect zipper tab.  Personally, I know it’s sometimes hard to get a bag wrangled in a decent position without leaving a super long zipper tail, so I prefer these zip ends from Emmaline Bags these days.  You can never go wrong with a little extra bag bling!  

Honestly, I could probably go on and on, but I think I’ve rambled enough.  If you have any questions about anything I’ve shared, please don’t hesitate to ask.  I am always happy to help whenever I am able, or point you in the direction of someone who may be able to help if I can’t.  You can find more of my ramblings (though, thankfully, not as lengthy…lol…) over on Instagram.  Just shout if you need help! :)


IITBS--Giveaway From Sew Sweetness


Today's giveaway is brought to you by Sew Sweetness. Sara is the creative genius behind Sew Sweetness. The Sew Sweetness pattern shop offers a wide range of patterns for all levels of bag makers and each pattern is full of step by step instructions and photos to build your confidence and your skills. I started sewing Sara's bags right after I started sewing and being able to complete her bags gave me the confidence to keep going and make things I never thought I would have the skills to.


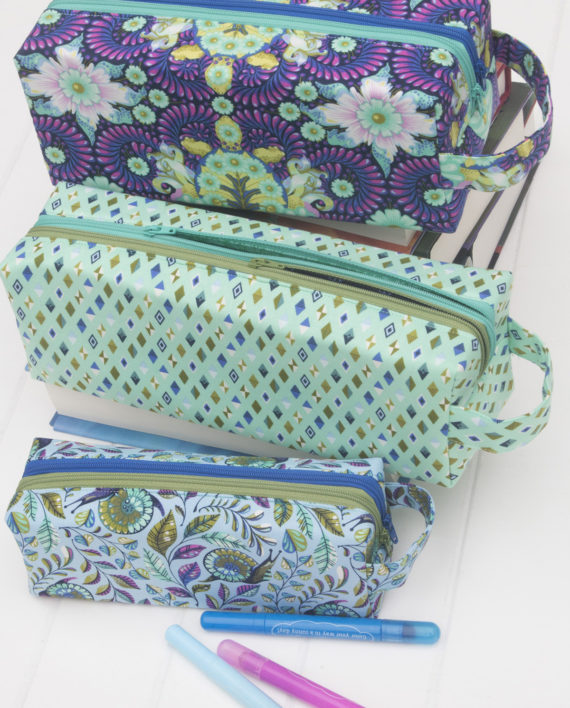
The Annex Double-Zip Box Pouch

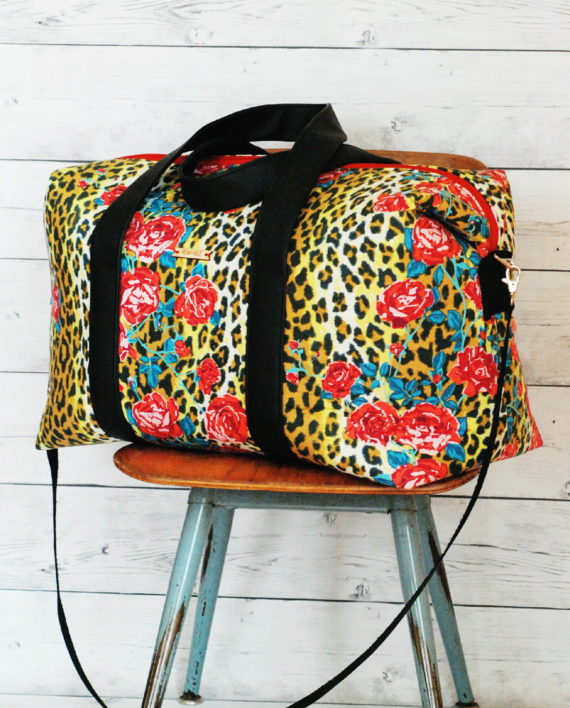
The Emblem Duffle Bag


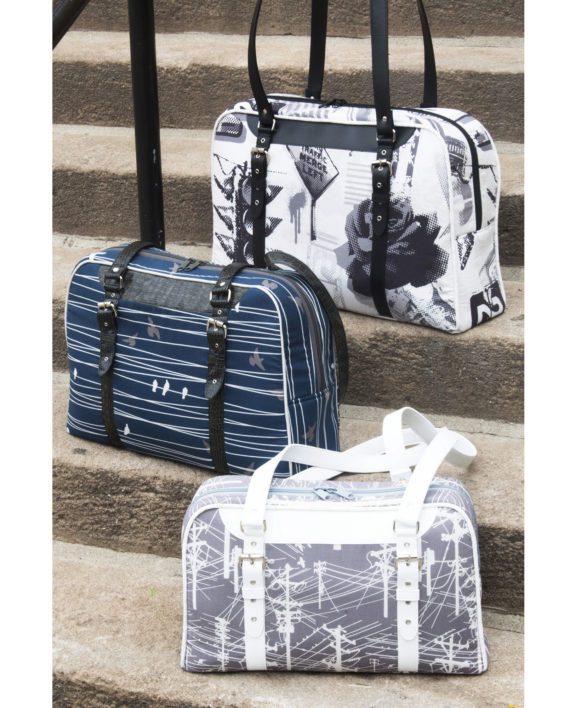
The Reisende Bag


In addition to her pattern shop, Sew Sweetness also offers high quality bag making hardware and the most amazing cork fabric!! Sara is also the author of two books: Big City Bags & Windy City Bags, a Craftsy instructor, has designed two fabric lines for Art Gallery Fabrics and is the co-organizer of Sew Pro.

Sara is a creative rock star! Despite all the time she puts into designing, teaching and organizing, Sara is ALWAYS willing to help out anyone who has questions or comments about her patterns or products and is so encouraging and helpful to everyone! Her blog is full of tips, tricks and tutorials for bag making and beyond and for the past several years she has hosted Purse Palooza, which is a fun event in which features pattern reviews and giveaways throughout the entire month!

You can follow Sara on Facebook, Instagram, Twitter and join the Sew Sweetness Patterns group on Facebook for inspiration or support.

For today's giveaway Sara is offering.....(drumroll please)........ a 5 pack of Paper Patterns of her latest releases:  The Annex Double Zip Box pouch, The Tortoise Bag, The Reisende bag, The Emblem Duffle and one yet to be announced.


Also Sara is offering her Craftsy class, Building Better Bags


This class is designed to take all the mystery out of choosing and using various interfacings and stabilizers. She can show you the right materials to get the results you want. This is a perfect class for anyone who want better and more predictable results from their bags and interfacings. 


One lucky winner will receive Sara's Craftsy class and a 5 pack of paper patterns of her latest patterns.