Saturday, August 6, 2016

IITBS-- Amber of Roarhaus Bag Hardware Explained


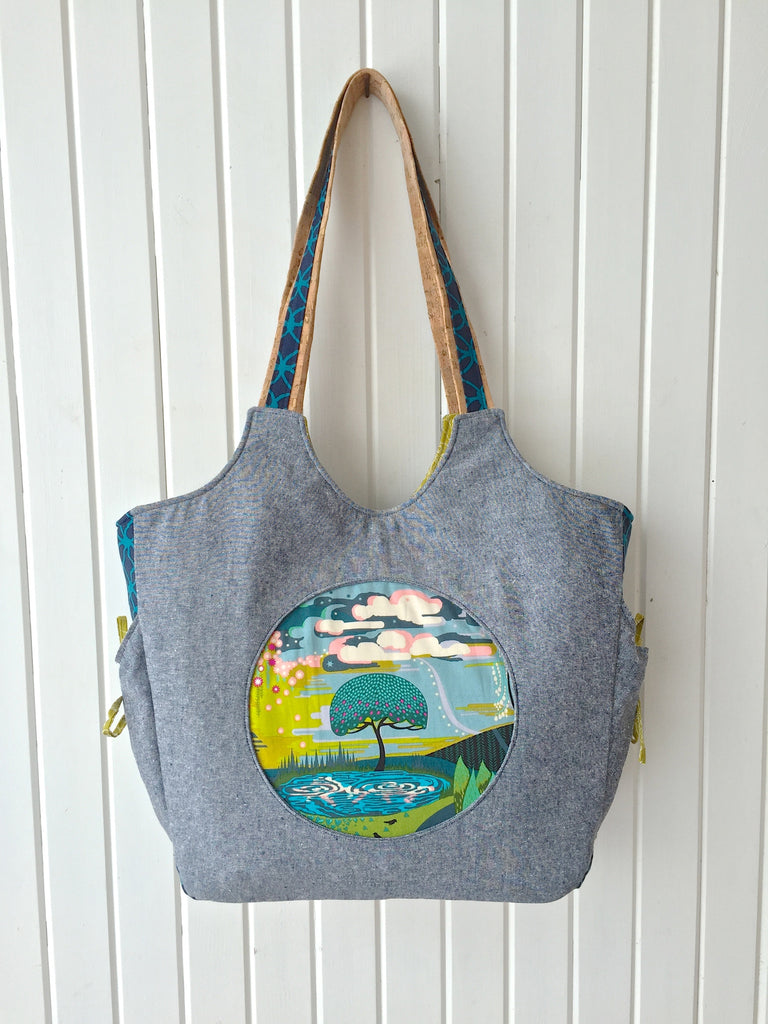
Today's guest post is by Amber of Roarhaus. Amber cranks out absolutely stunning handbags, and I am always awed by what she makes AND how quickly she can make them! If you follow Amber on Instagram you know what I mean, it's like every day she is sharing another amazing creation.
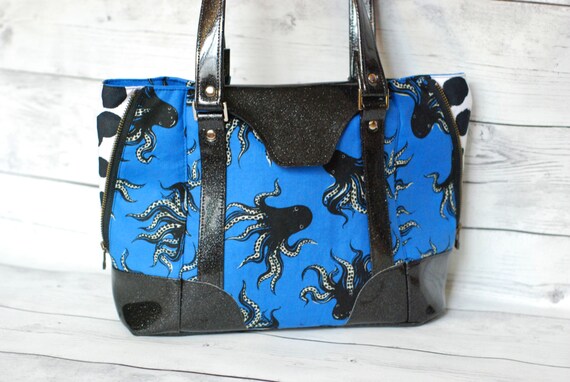


So, So good! She is amazing! I'm so honored that she will be sharing some of her wisdom with us today and talking about hardware. Thank again Amber!

...........................................................................................................................


Hello and welcome to my crazy world of bag creation! Let’s talking about bag hardware, shall we?!
Bag hardware! What a huge category! I could spend all week just talking about it, but instead I will get down to the basics:
Rivets:

There’s something about rivets that simultaneously takes a bag from homemade to handmade – from looks pretty to lookin’ fabulous! So many people are nervous to try these awesome tools of the trade and you really shouldn’t be! A little practice and you will be well on your way to mastering this “riveting” look. Haha I crack myself up! :D


Rivets come in various sizes: the diameter of the rivet head and the length of the shaft. You will want to pay attention to both of these when purchasing. When choosing a rivet for a project, you will want a shaft that is just long enough to go past the material it will be holding. Anything longer and you risk the rivet bending while installing and it’s no fun removing a bent rivet – take it from me!

They will also come in two different types: double cap ends or regular flat backed rivets.
I prefer to buy only double capped ends. What does double capped end mean? It means that the pretty rounded face of the rivet is on the front and back of the rivet when placed, meaning you can install it anywhere and it will look great! No ugly flat backing to try and hide!


I prefer to use a press when installing my rivets, but a good old hammer and rivet install tools will do the work just as well!

Also, I highly recommend a god leather lunch for all your hold punching needs! I’m not a fan of table top hole punches, although they are a great place to start and I will admit to pulling mine out in hard to reach areas!  I am an equestrian by profession so I know a thing of two about a good hole punch!  If you want to know my secret, this is the one I use:  Sprenger Leather Hole Punch <<use link http://amzn.to/2aLGGD2 if that is OK?>> -  it’s an investment that will pay over and over again because it’s, wait for it……………..SPRING LOADED! Amazing little piece of equipment right there!

Magnetic Snaps:

A staple in your hardware tool bag! These little beauties are perfect for beginners and advanced bag makers alike!
A few key notes about magnetic snaps – I prefer the “thin/slim” design ones. The reduce bulk and are just as strong as the thicker counterpart you find in most box stores. You might have to order them online but once you use them you won’t go back!


When installing magnetic snaps, I am always making sure my fabric is interfaced with ATLEAST a woven fusible like Pellon SF101 to prevent tears or rips – and if this has ever happened to you, you feel my pain!
Next, after marking and cutting my slits for my prongs (I use an exacto knife like this one: <<Link “http://amzn.to/2aoDsT9
“>> to slice my slits) I use a no-fray gel to make sure the slits don’t get frayed or slit further.

Then, before I close the prongs, I insert a tiny piece of thicker material (I use scraps of Pellon 71F Peltex) placed underneath the top closure. This gives the snap some extra strength and helps make it taunt against the fabric.

Finally, close my prongs pressed towards each other NOT away. Away from each other leads to the snap pulling out over time. Finally, a good smack with a hammer to set it all nice and tight! Voila! Magnetic snap!

A side note: there are also hidden magnetic snaps as well! These are fun to incorporate, but that’s another topic entirely! Lol
All the Rings! D-Rings, O-Rings and Rectangle Rings Oh my!


There are so many options of bag hardware nowadays! You can use round rings, oval rings, d shaped rings and rectangle rings plus so many more!

This is some of the most used hardware you will see. Used for straps, attachments and more, these rings bring life and beauty to you bags!
To start with, you want to use good quality heavy rings. Also, you want them to be welded shut all around, no open gaps. Gaps in hardware will lead to bending and breaking and heartbreak!

Choose what to use is personal option and based on bag style Mix it up! Use o-rings on a bag normally you would use rectangle rings on! Go wild! It will give your bags a sense of your personality and style and that’s the whole point, right?!
Swivel Hooks & Sliders:

The bread and butter of cross body straps and removable carry straps! These little beauties are pretty and functional all in one!
Swivel Hooks are awesome for removable cross body straps, wristlet straps and even for closures! They come in all kinds of shapes and sizes! From tiny little lobster claws to large and in charge heavy duty.

Make sure your swivel hooks are made from a quality and sturdy material. No cheap swivel hooks please! They don’t hold up (sometimes barely past installation) and break easily. These hooks usually bear a lot of weight so a nice quality is important.
Sliders are a great way to add adjustability to your straps! It takes some getting used to threading them properly, but once you get the hang of it, it’s a piece of cake! They come in several varieties and sizes. I prefer the solid shaped ones rather than the ones with a moveable center bar, but that’s just my preference! :D

Purse Feet:

I use purse feet every not and again. These are beautiful professional touches that can really elevated a bag to the next level. They are also great for keeping the bottom of your bag clean!
Slider Buckles:

Adding buckles to a bag’s exterior is another way to show some of your unique personality as well as function. They come in several different sizes and shapes. Again, quality of over quantity always!
Twist Locks:
– photo credit to sara Lawson @sewsweetness >>
These fun locks can be a pain to install but always come out looking 5 star! They are unique in that the user must twist the top knob in order to release the locked panels from each other. Great for when you need extra security. They come in several different shapes and sizes; all that can complete a bag or wallet.
Take your time when installing these locks and maybe even practice cutting and placing the lock on scrap fabric before tackling the main project. Go slow, be thoughtful and you will be successful!
Snap Buckles:

Buckles are a fun way to close a bag that needs to be secure. You can find them in colorful colors or simple stainless. They are easy to attach, very similar to attaching a swivel hook.

Grommets:

Grommets can add some fun quirk to any bag! Use them as ways to connect your straps or simply as decoration. Either way you can’t go wrong!

Practice on scrap fabric until you get the hang of setting the grommets. You can buy attachments for your rivet press that will install grommets, or you can go the old fashion stress relieving way and grab a hammer and start pounding! :D
Extras:

Brand Tags, bling and more! Studs, gems, embroidery, corners and pins! The sky’s the limit when creating your master piece!  Most of these items will be installed very easily or similar to a rivet or magnetic snap!
Zipper ends, hand tags, strap holders and more! There are so many options in today’s market to customize and “bling” out your bag!
I hope you enjoyed this intro to bag hardware and learned some tips & tricks as well! For inspiration, tips and tricks, follow me on my blog at www.studioarblog.com or on InstaGram at @monpetitebiscuit and @roarhaus – happy bag makin’!


IITBS- Emmaline Bags Giveaway


Today's giveaway sponsor is Emmaline Bags. Emmaline bags is your one stop shop for all things bag making. Emmaline offers sewing patterns, tutorials, and high quality GORGEOUS bag hardware and bling that add the perfect finishing touch to all your handcrafted bags. 

Emmaline sewing patterns are very well written and easy to follow and give you professional and consistent results. Each pattern has written step by step instructions and photos and illustrations to help you really understand the techniques and increase your skills and confidence in bag making. You'll whip up a bag that you will impress yourself with! 

My all time favorite wallet pattern is the Neccessary Clutch Wallet: This is the ULTIMATE wallet pattern, you can stuff almost anything in this classy lady and then some!


The Totes Ma Totes Pattern recently got a face lift and she is gorgeous:


You can also find all your hardware needs for these bags and any other in the Emmaline Shop
Janelle offers high quality hardware and bag accessories. She is always offering new and unique products that allow you to create a bag that no one would believe isn't a designer bag. 


And the BLING:


In addition to all the goodies you can find in the Emmaline shop, Janelle is also a designer for the Bag of the Month Club, her last contribution was the Gabby Bag which was released in her shop as an individual pattern in July: 


Janelle is also a Craftsy instructor and her class,  Mix and Match Clutch Bag Techniques teaches you how to sew up a variety of chic clutches and how to add hardware and bling to create professional quality bags.


In addition to all of Janelle's accomplishments, she recently co-authored the book On The Go Bags- 15 Handmade Purses, Totes & Organizers: Unique Projects to Sew from Today's Modern Designers


If you haven't checked out the Emmaline Blog, you are missing out on some amazing tutorials and resources for all things bag making! Follow along on the blog to get the scoop on upcoming patterns, tutorials, sew alongs and contests. 

Janelle has graciously offered one lucky winner at 25 dollar shop credit at Emmaline Bags. It'll be hard to decide whether to stock up on patterns, hardware or yummy bag bling!


a Rafflecopter giveaway

Friday, August 5, 2016

IITBS-- Crystal of The Cloth Albatross (QAYG tote)


Today's post is from Crystal from The Cloth Albatross. Crystal is an incredibly talented bag maker and sewist and I am always in awe of what she creates! She makes absolutely stunning bags and I love the way she uses design elements and mixes fabrics to make her bags pop!

Check out some of her crazy awesome bags:


When I first asked Crystal if she would be a part of the series, I immediately thought of some of the gorgeous QAYG bags she has created, this was one of my faves:


In addition to sewing up these gorgeous bags, Crystal has also designed her own bag pattern which was published by Blue Calla Sewing Patterns. You can get your copy here, or head over to The Cloth Albatross Shop on Etsy to see what yummy bags she currently has for sale


You can get your copy here, or head over to The Cloth Albatross Shop on Etsy to see what yummy bags she currently has for sale
.......................................................................................................................................................


Hi, I’m Crystal of the Cloth Albatross. I am so excited to be included in this bag making series. In this tutorial, I’ll go through the method that I use for incorporating quilt-as-you-go (QAYG) into bag making.

Initially, I was going to write up a simple tote pattern but then I realized that Sara of Sew Sweetness has already written a free tote bag pattern using batting as interfacing, and it’s adorable. Here is the link to Sara’s Sawyer Bag tutorial.

I really like the proportions of the Sawyer Bag with the handle extenders giving it a unique look. I decided to accentuate that feature by having a top band, that ends where the handle extenders do, connected to a QAYG panel.


After you’ve looked over the Sawyer Bag tutorial, look back to the supply list and make the following changes:

  • You will only need 1/4 yd exterior fabric
  • Change ShapeFlex quantity to 1 1/4 yds
  • If you have batting scraps, you will not need to purchase batting yardage.
  • Omit Pellon 805 Wonder Under (since we’ll be quilting our batting, we do not need to fuse it to our exterior fabric)
  • Add 1/4 yd Pellon Fusible Thermolam Plus (fusible fleece)*

*The fusible fleece is for interfacing the top band. If you don’t have this on hand, you can use Wonder Under to fuse batting, or quilt batting to the top band. Basically, use what you have or the supplies that you’re most comfortable working with.  

Cutting and Interfacing Top Bands

Exterior Fabric:

Cut (2) 9” H x 16” W

Shapeflex (woven interfacing):

Cut (2) 9” x 16”

Fusible Thermolam Plus (fusible fleece):

Cut (2) 8” x 15”


After you’ve cut your fabric and interfacing, fuse the Shapeflex to the wrong side of your exterior fabric. Once the Shapeflex is fused, center the fleece over it. The fleece should be 1/2” in from each side so that it stays out of the seam allowance (SA) and reduces bulk.

Piecing/Cutting Batting

If you don’t have batting scraps and are cutting your batting from yardage, cut (2) 11” x 17” pieces. You will be trimming these pieces down to 10” H x 16” W after they’re quilted. Quilting tends to distort fabric, so the extra inch on each side gives some leeway for it to be squared off once you’re done.

If you’re piecing your batting, take 2 strips to your cutting mat and overlap them by ~ 1” on their longest edge. Cut along the overlap. This cut will make the batting scraps easier to butt up against each other when you join them together.


Take your batting pieces to your sewing machine. Put on your walking foot attachment and set your machine to a joining stitch. On my Janome, I use stitch #16. A zigzag stitch would also work. Center the seam of the 2 batting pieces in the center of your walking foot. Guide both pieces through as you stitch. The batting may get a little wonky – that’s okay. It doesn’t need to be perfect since we’ll be squaring up our panel once we’re done quilting.


Join batting scraps together until you have (2) 11” x 17” batting pieces.

If the seam in the batting makes you uncomfortable, you can fuse a scrap of SF101 over the seam. I don’t usually do this if I’m quilting something but it doesn’t take much time.


Choosing Fabric Scraps

I like to choose a theme when I’m doing QAYG so that it doesn’t seem too random. Since I am using B&W fabric for my top bands, I chose a B&W focal print to match. I decided to do solids with it. I didn’t want a rainbow look (this time) so I opted to go for cool color solids. You could do rainbow, warm tones, geometrics, or florals. Really there are no rules, just choose scraps that you will be happy working with.


It would make more sense to choose a central design that’s wider than it is tall since the QAYG block is a wide rectangle. So take that into consideration when choosing your central design. The reason this is important, is that we will be doing log cabin style piecing (going around a block in the center with strips on the outside) and the tops and bottoms of your block will get completed before the sides do since there is more room on the sides. It’s not a big deal – you can just add strips to the sides, but if you want the same number of strips on the top and bottom as on the sides, you’ll want to use narrower strips on the top and bottom and a wide rectangle for your center design. This sounds complicated but it’s not and will make more sense after you look at the pictures of how the block is laid out.

QAYG

Take your (2) 11” x 17” batting panels and mark a 10” H x 16” W square in the center. This is not necessary but it will help you see approximately where you will be trimming your panel down to so that you don’t do a lot of unnecessary quilting that won’t be seen. While you’re marking your square, mark the very center of the panel so that you know where to place your central focal square.

Place your focal square, right side up, in the center of your batting. You can pin it or spray baste it in place if you’d like, but I normally just hold it in place until I quilt it. Change your stitch length to at least 3.5 mm and decide how you want to quilt your design. I chose to quilt my central square differently than the rest of my panel. I used diagonal lines on it and vertical and horizontal lines on the side strips. I don’t mark my lines on smaller projects, but if you want really straight quilting lines, you can use painter’s tape to mark your lines. It’s repositionable so that you can use the same piece a few times. Just stick it on the top of your project and quilt right along the edge of the tape. I normally just pick a place on my walking foot and use that as a guide for how far apart I want my quilting lines.


After you’ve quilted your central square, measure the top edge and cut a fabric scrap to that length. The width of it doesn’t matter – it’s a personal preference on how wide or narrow you want your strips. I kept the width of my strips between 1.5” and 3”. (I varied their widths.) Place your fabric strip, right side down along the top edge of the central square and sew it in place with a 1/4” SA. Press the SA toward the top strip and quilt the strip.


Once you’ve quilted the top strip, measure the right edge of your quilted piece and cut a strip to that length. Lay the strip right side down along the right edge and stitch with a 1/4 SA. Press the SA towards the right strip and quilt.


Once you’ve quilted the right side strip, measure the bottom length of your quilted piece, cut a strip to that length. Sew the strip with a 1/4 SA. Press the SA towards the bottom strip and quilt the bottom strip.

Once the bottom strip has been quilted, measure the length of the left side of your quilted project. Cut a strip to that length. Sew the strip to the left side of your project with a 1/4 SA. Quilt the strip.


Now we’ve made it all the way around our central square. We’re going to continue this pattern until we’ve quilted our entire piece of batting. Since we haven’t been completely exact with our cutting and measurements (or at least I wasn’t), there will be some pieces that jut out, that’s fine, they will get quilted over. Just make sure to align your fabric strip against the most sunken in piece so that there are no raw edges peaking out from your quilted block.


After your batting is completely quilted, take it to your cutting mat and trim it to 10” H x 16” W. Your QAYG panel is finished!


Finishing Main Panel

Get your top bands. We’re going to piece them together with our QAYG panels. Place a top band right side together along the top edge of your QAYG panel. Stitch together with a 1/2 SA. Press the seam toward the top panel. Topstitch the seam ~1/8” from the edge.


Now your exterior main panels are finished and you can proceed with Sara’s Sawyer Bag Tutorial. I hope that you found this tutorial helpful and that you’ll make a QAYG bag. If you do, make sure to share it on Instagram with the hashtag #sawyerbag.


IITBS-- Bobbin Girl Handbag Making Supplies & Haberdashery


I'm so glad to announce that there will be a SECOND give away today, sponsored by Bobbin Girl Handbag Making Supplies & Haberdashery. For UK bag lovers, Bobbin Girl offers high quality bag hardware and bling to make your handcrafted bag shine!


Bobbin girl also carries a wide variety of hardware kits for specific patterns as well as the interfacing kits for your conveince! Just pick out the pattern you want and then pick up the kits, it's easy peasy!


The Penny Inn Hardware Kit


The February 2016 BOMC kit for The Window Shopper Tote


Bobbin Girl has generously offered one lucky winner a £15 shop credit! Go check out the shop to pick out your favorite items, and like her on Facebook to stay up to date with new products for your bags. Her Instagram feed is also a great source of inspiration if you are looking for a new bag pattern or some new bling to take your bag making to the next level.

a Rafflecopter giveaway

IITBS-- Blue Calla Patterns GIveaway


Today's giveaway sponsor is Blue Calla Patterns. Blue Calla Patterns offers a wide and eclectic range of modern and functional handbags for all levels of sewists. I really love the variety of patterns to choose from, and the details that are in the designs that allow for so much variation in the look of each finished bag. 

I discovered Blue Calla patterns through Instagram and fell in LOVE with the design of these patterns. They are unique yet classic and the details make them look so professional. I have so many of these patterns on my "must sew list". Some of my personal favorites are:

The Calla Convertible back pack:


The Daisy Cross Body Bag:


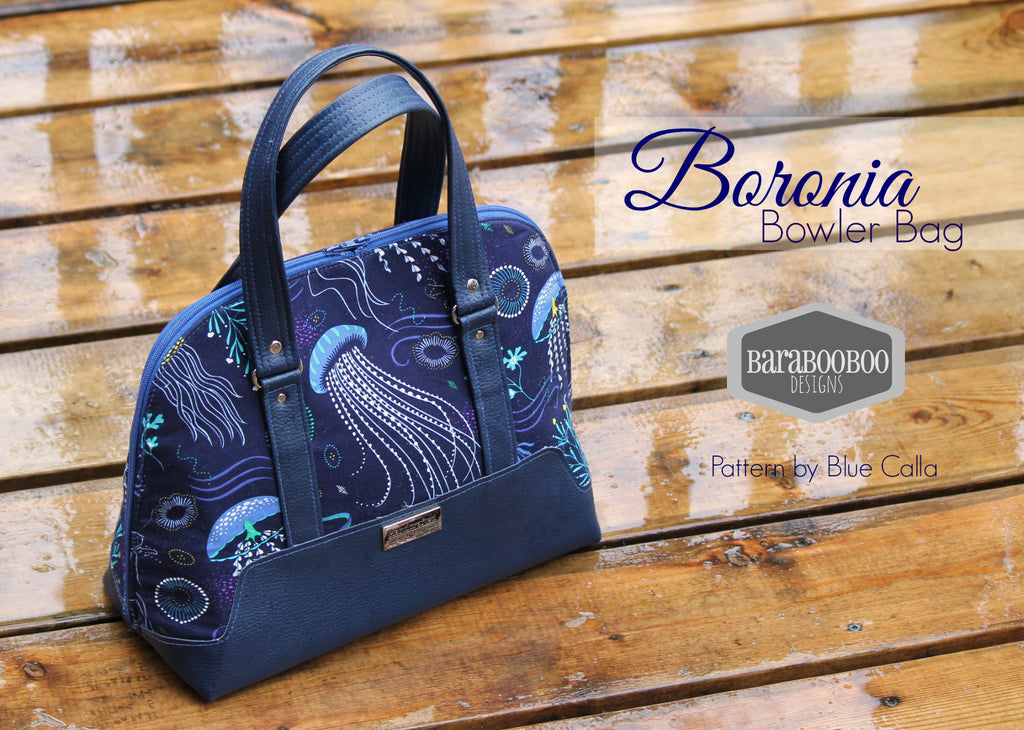
The Boronia Bowler Bag:


And the newest release, The Trillium Tote Bag:


Celine is generously giving away 3 pdf patterns of one lucky winner's choice. There are so many gorgerous choices, I know it'll be hard to pick just three!!


Join the Blue Calla Sewing Patterns group on Facebook to see some INCREDIBLE bags and some inspiration to get sewing the bag of your dreams. 


Follow along on Instagram to see when the newest designs are being released


a Rafflecopter giveaway