Friday, July 28, 2017

Luxie Sew Along Day 5


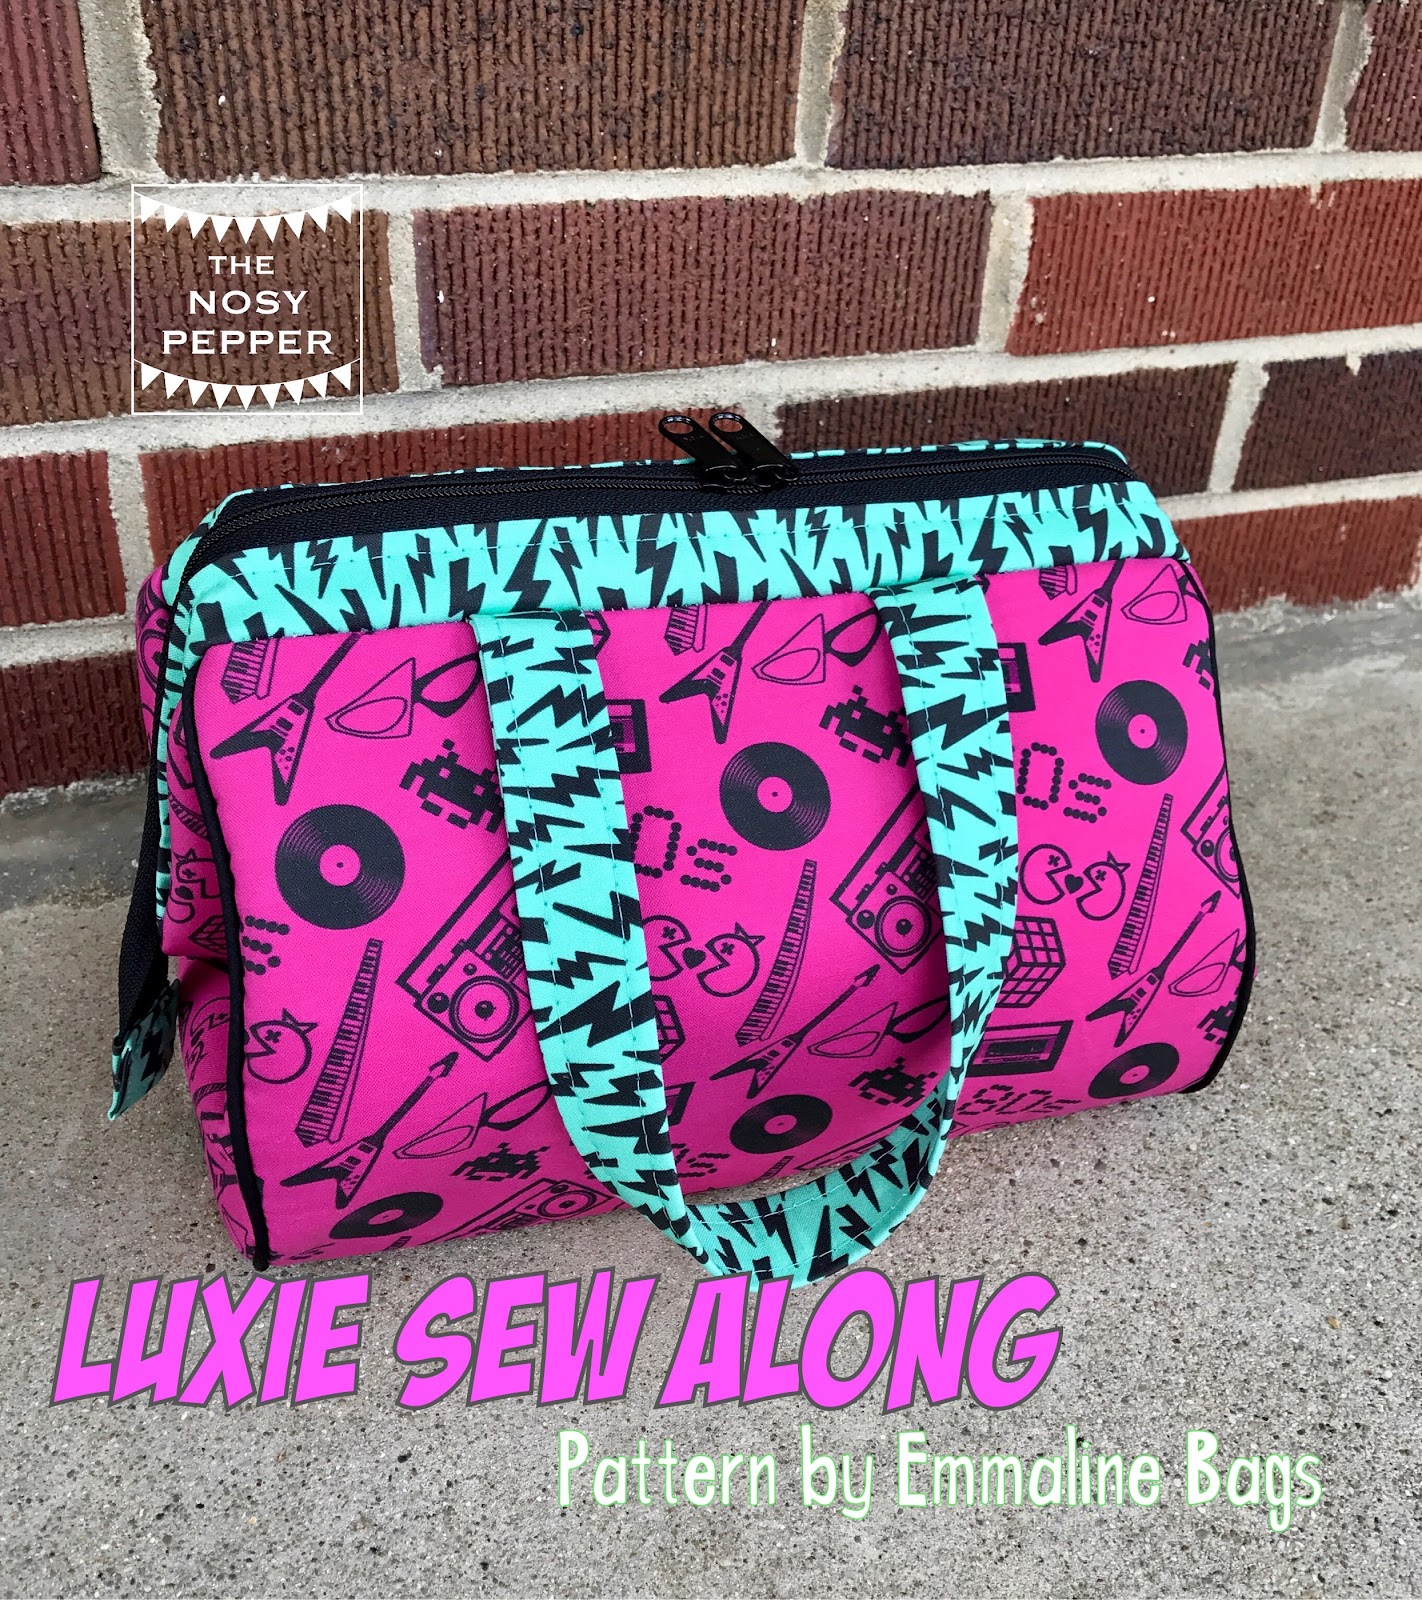
Welcome back! Today is our 5th and final day of the sew along. We will be making our lining and putting it all together, so you will have your completed Luxie at the end of the day, yay! Let's get sewing.


Assembling the Lining pieces:

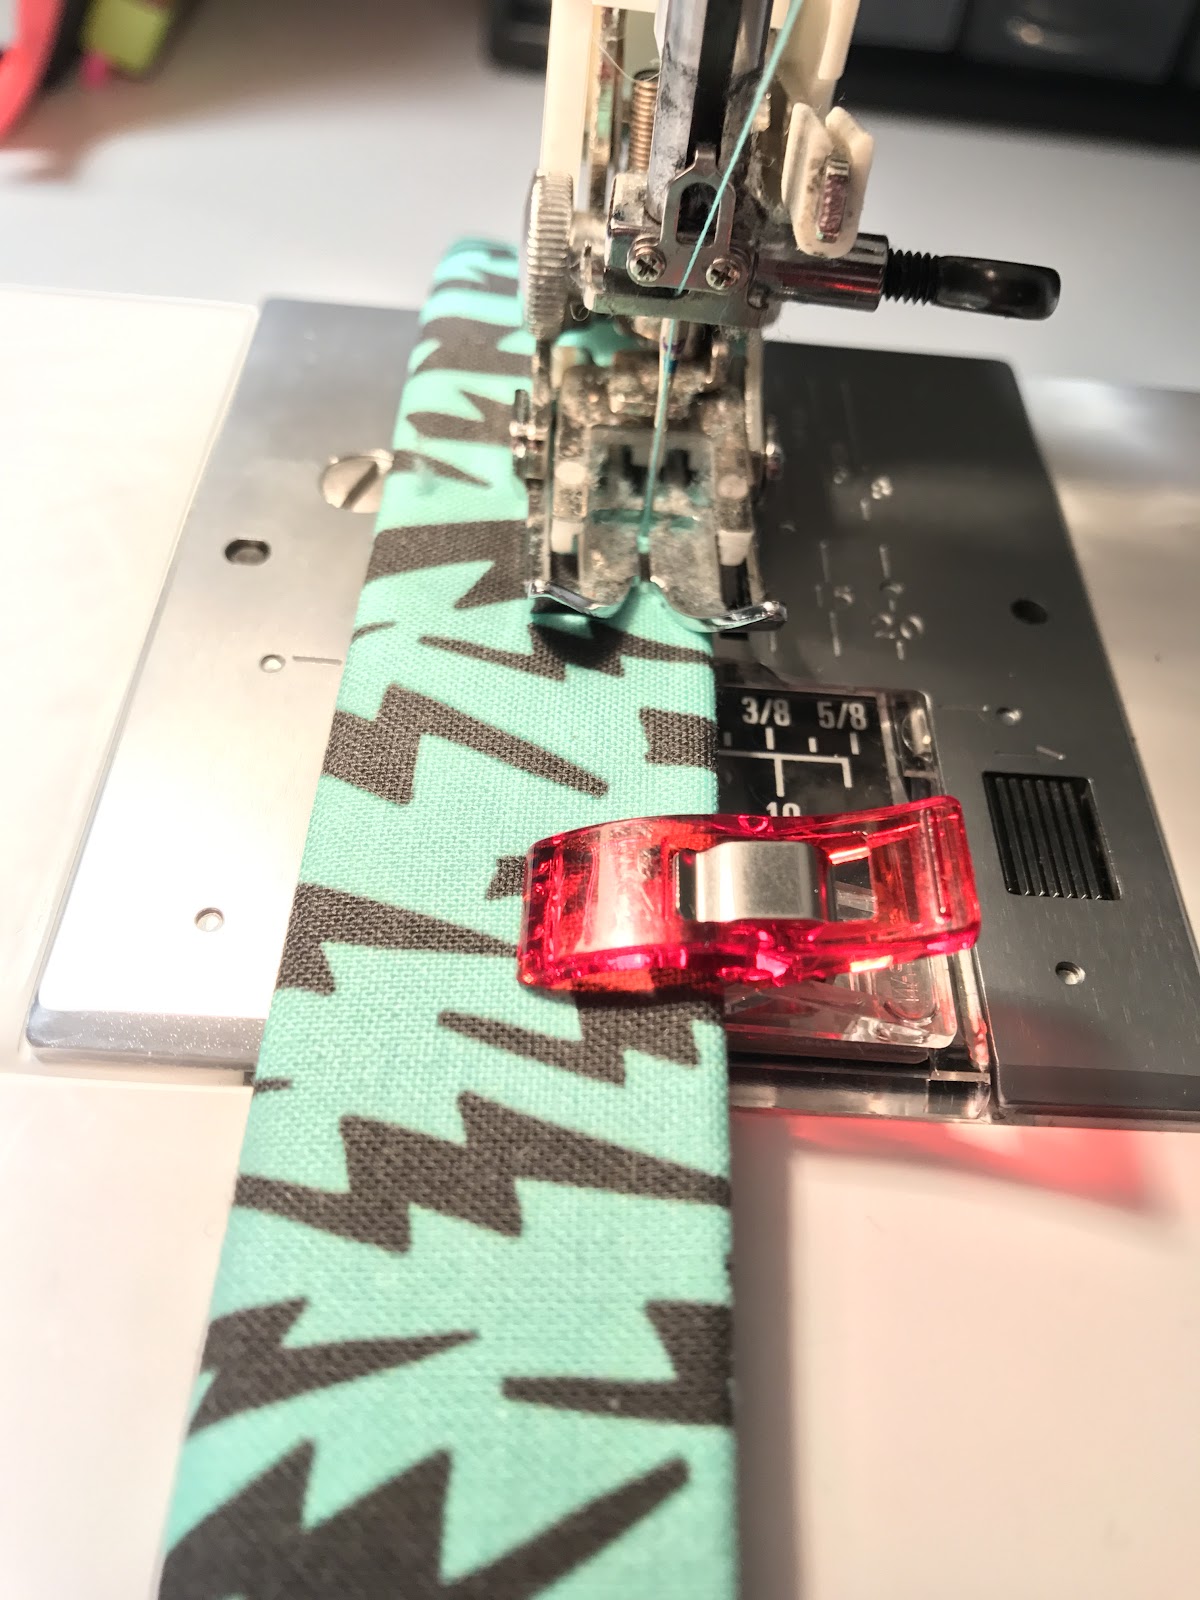
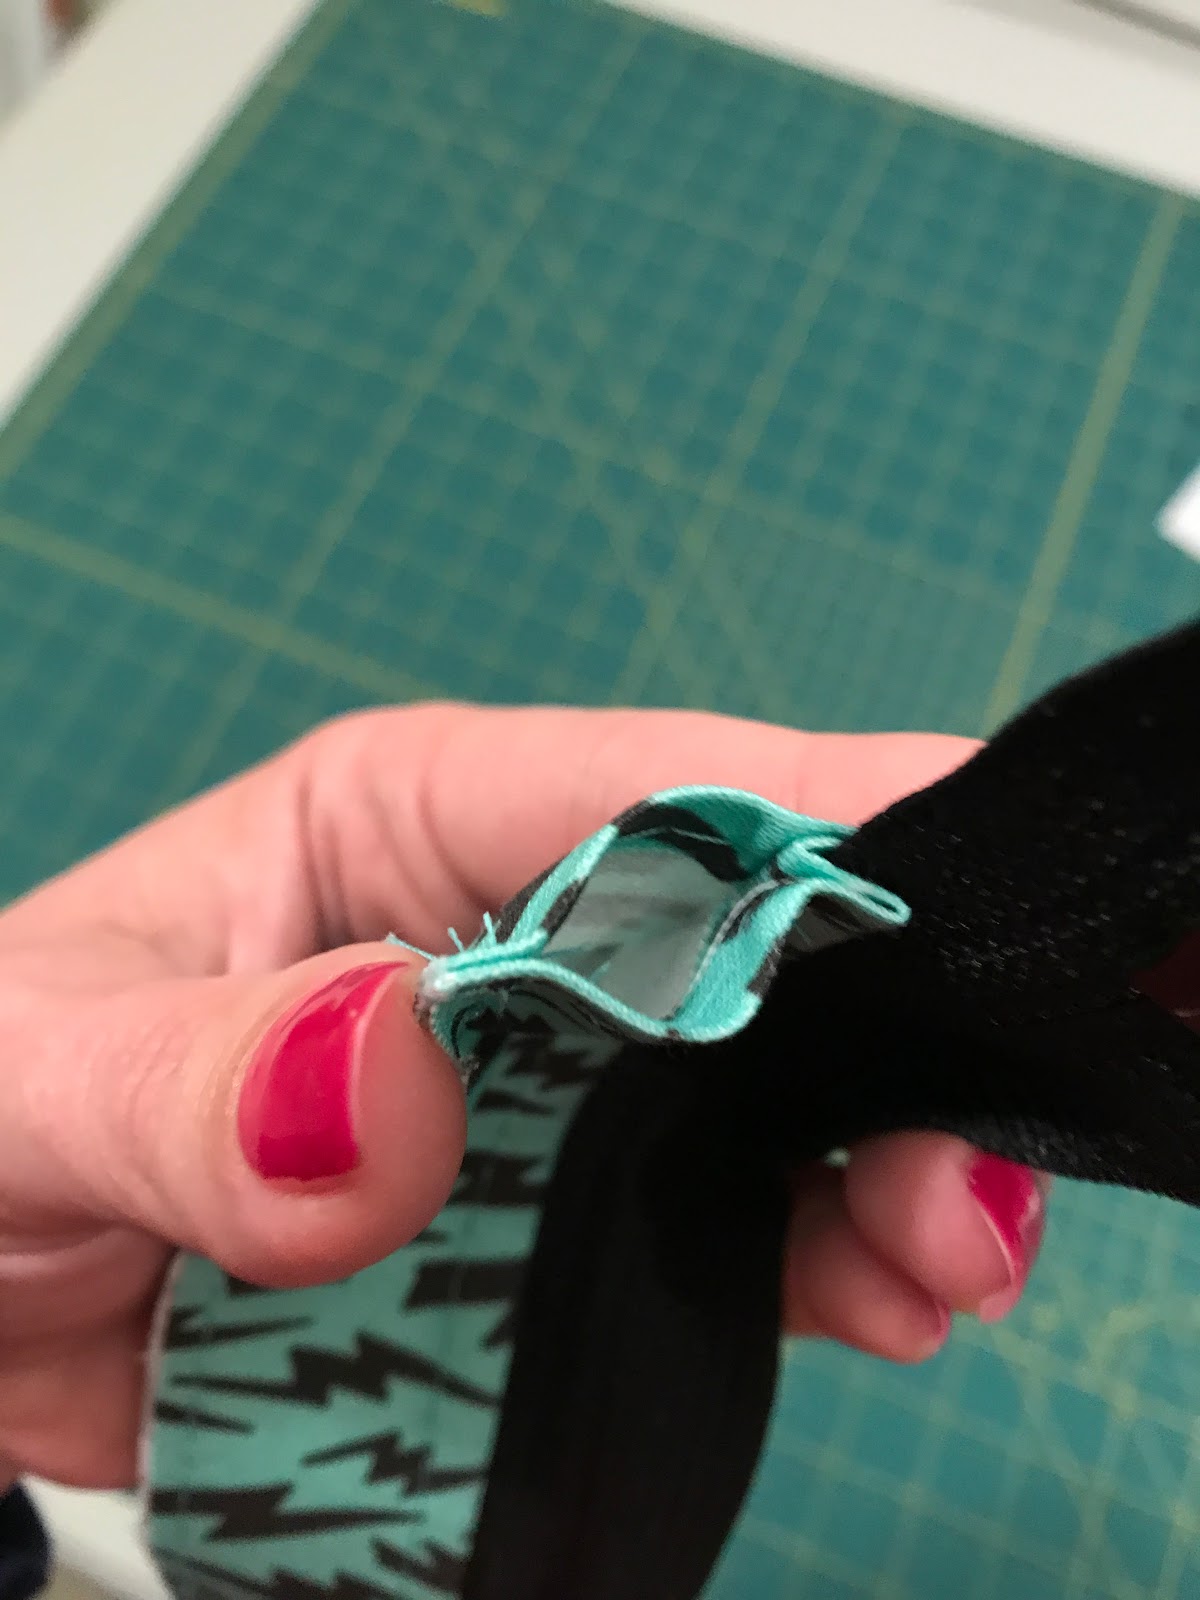
If you find that your machine struggles to sew the PUL or vinyl, a walking foot can be super helpful. You can also use that annoying paper that comes with your interfacing between your presser foot and your fabric to help glide it along. 


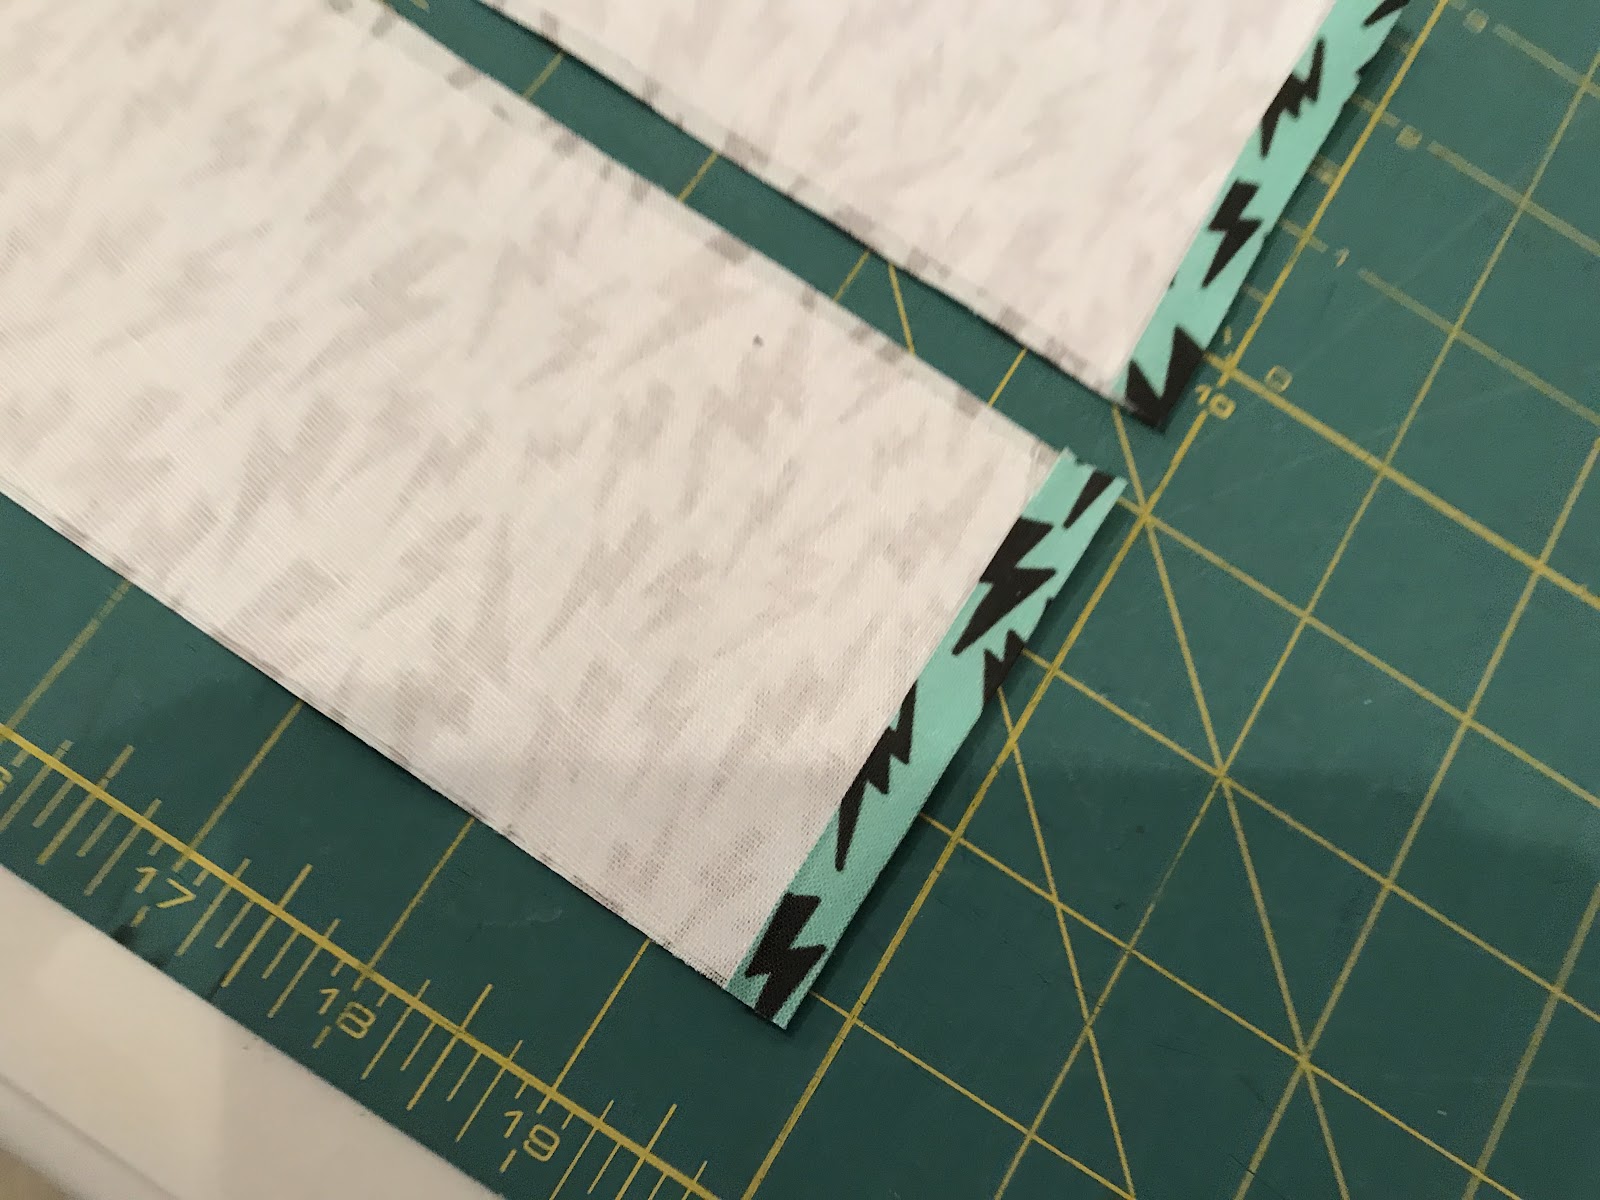
First, we are going to sew the bottom edge of our lining pieces together. don't forget to leave about a 7' hole along the bottom seam for turning your bag (don't short yourself here on making sure the hole is large enough, there are a lot of layers to fit through the tuning hole. Remember PUL is a knit fabric essentially so you don't want to use too short a stitch length or your stitches might pop when you go to put your bag together. I like to use about a stitch lenth of 3 when contstructing the lining, maybe it's overkill but better safe than sorry. (later when you sew your exterior and lining together you won't have to worry about things shifting so much, but the stretching is especially true when you are turning your bag, so also be SUPER sure to securely back stitch at each stop and start).


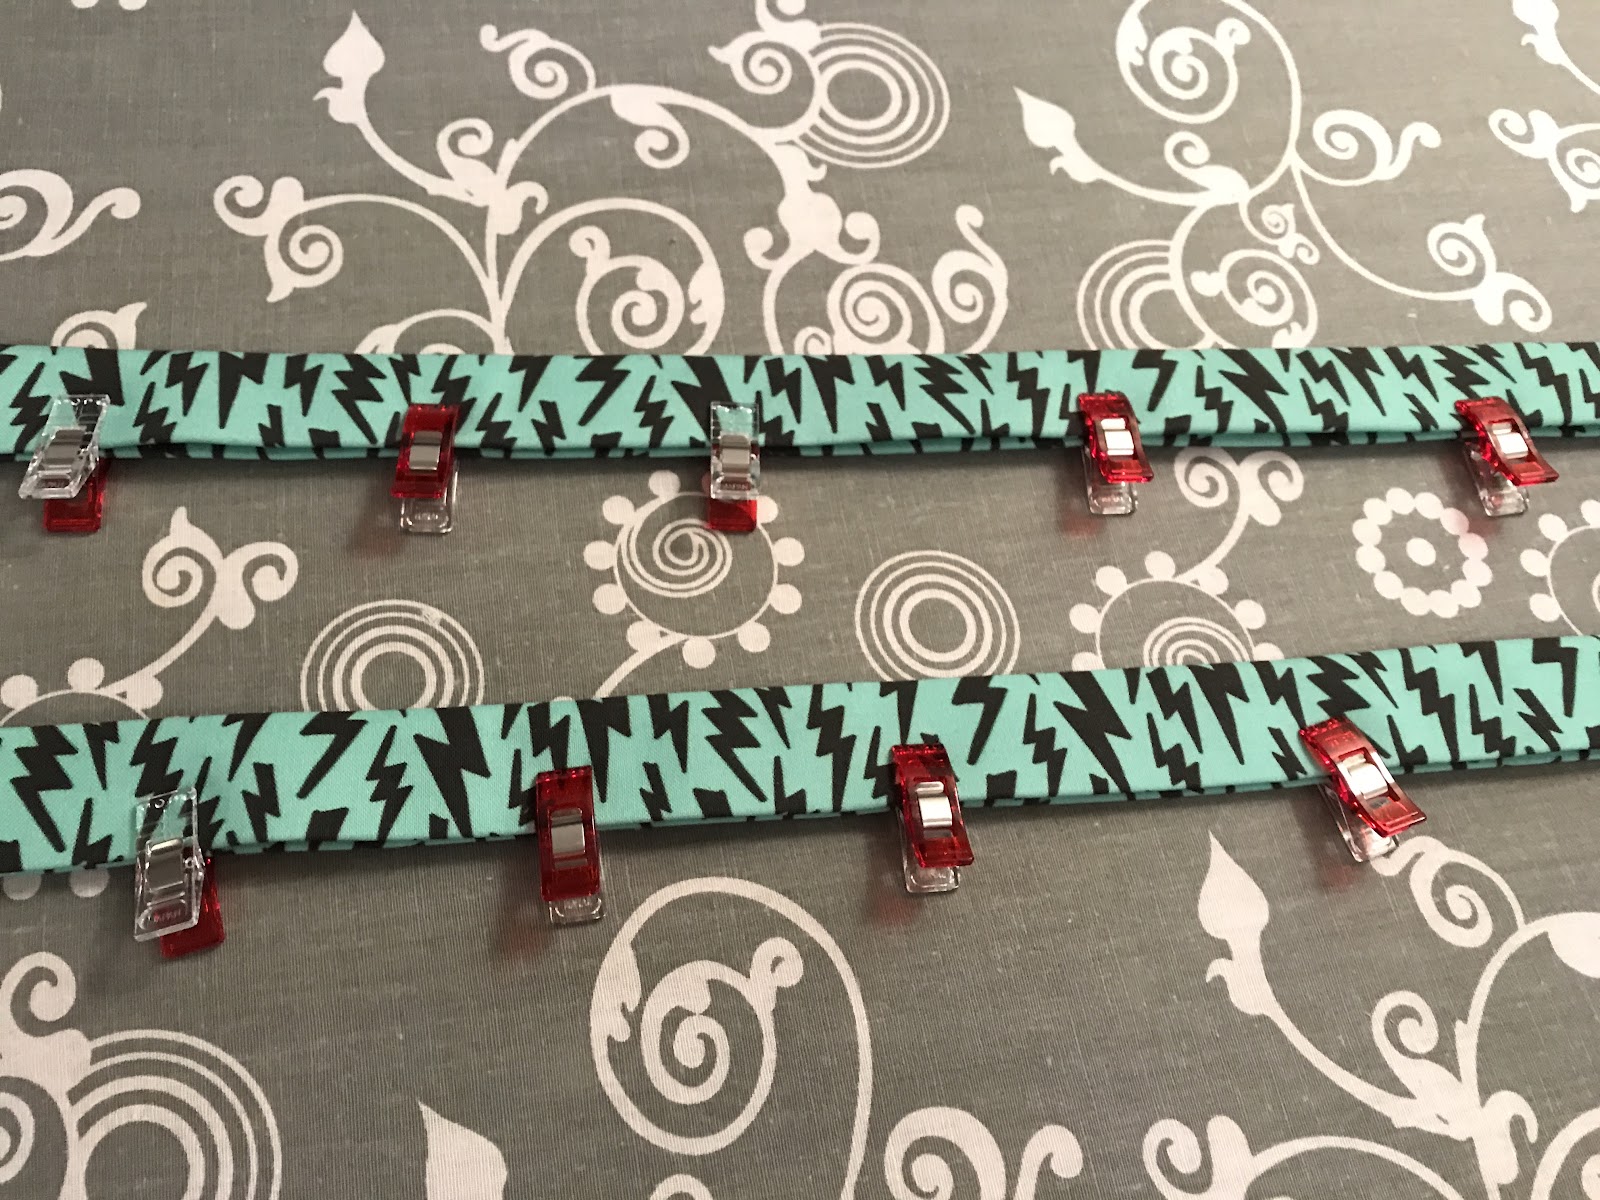
We will attach the side pieces to our main lining panels the same way we did our exterior bag. I am not ashamed to admit I like clips, and a lot of them. I probably would put clips on my clips if I could. Remember, if you are using PUL you want your SHINY side as your right side. This way, your bag lining is wipeable. If you aren't concerned with wipeability feel free to use whatever side you like. 


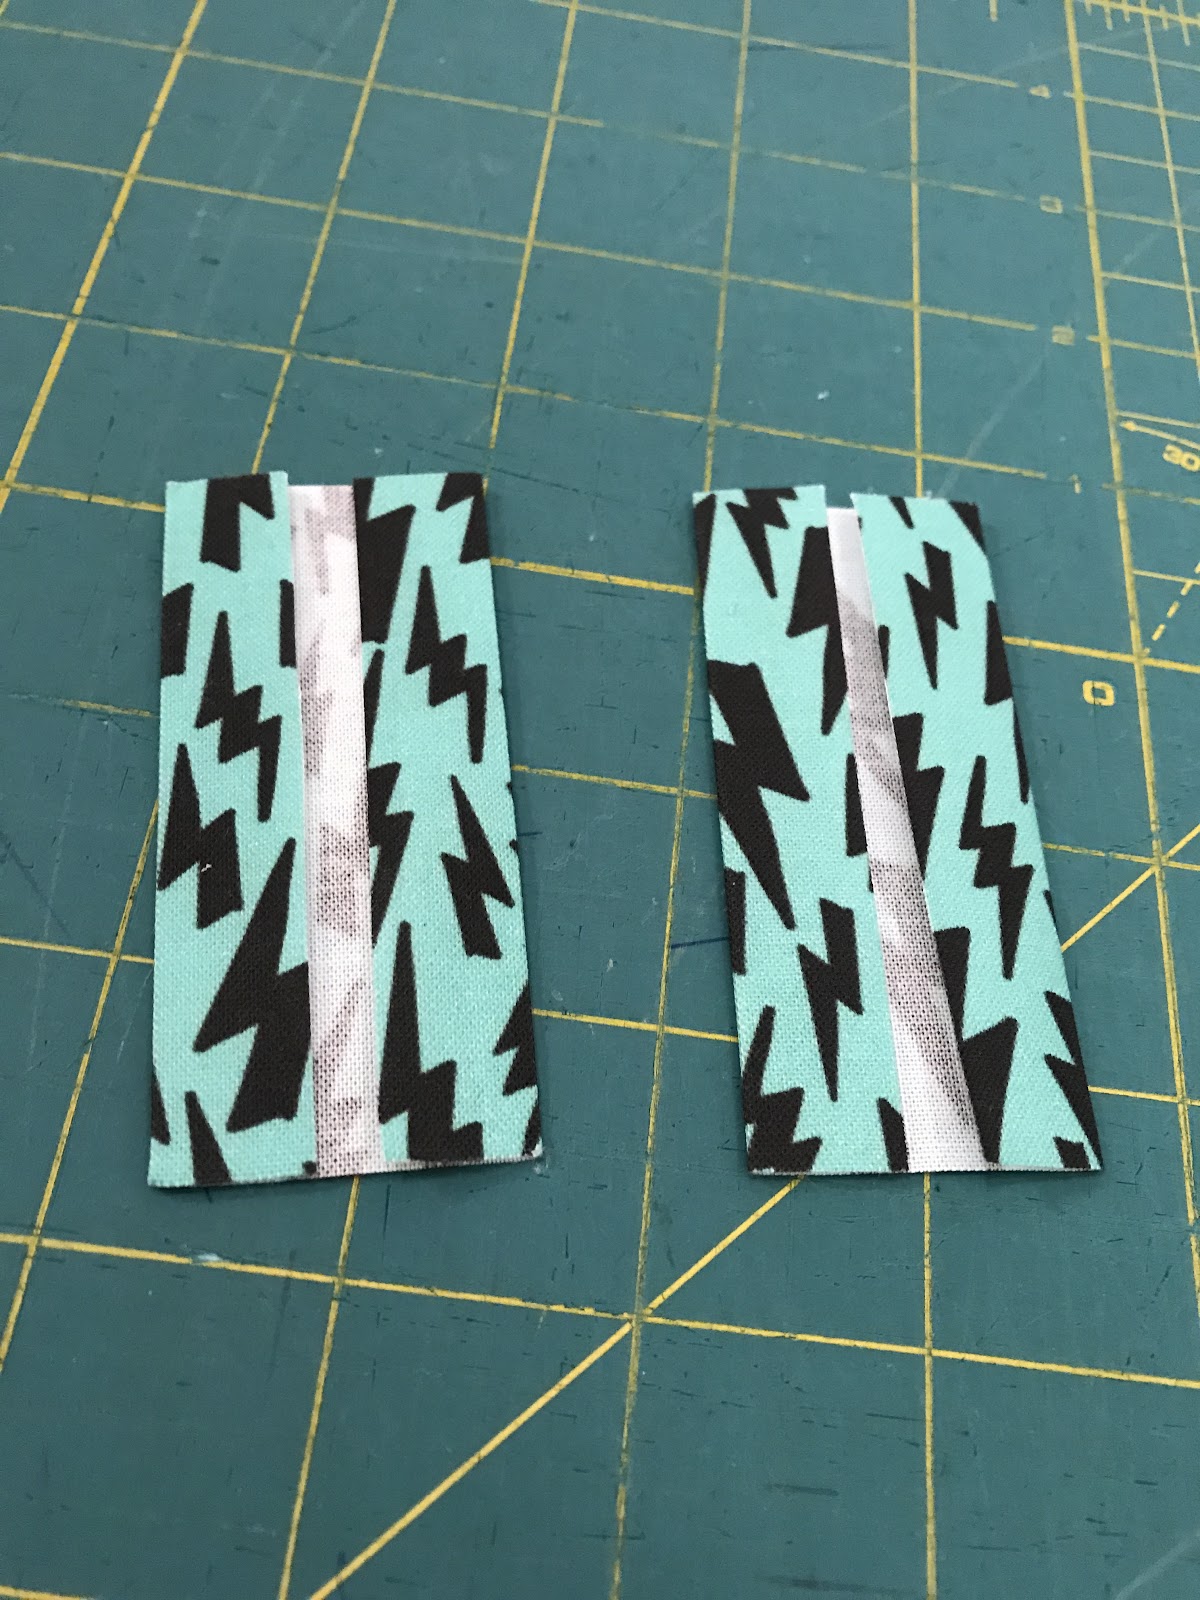
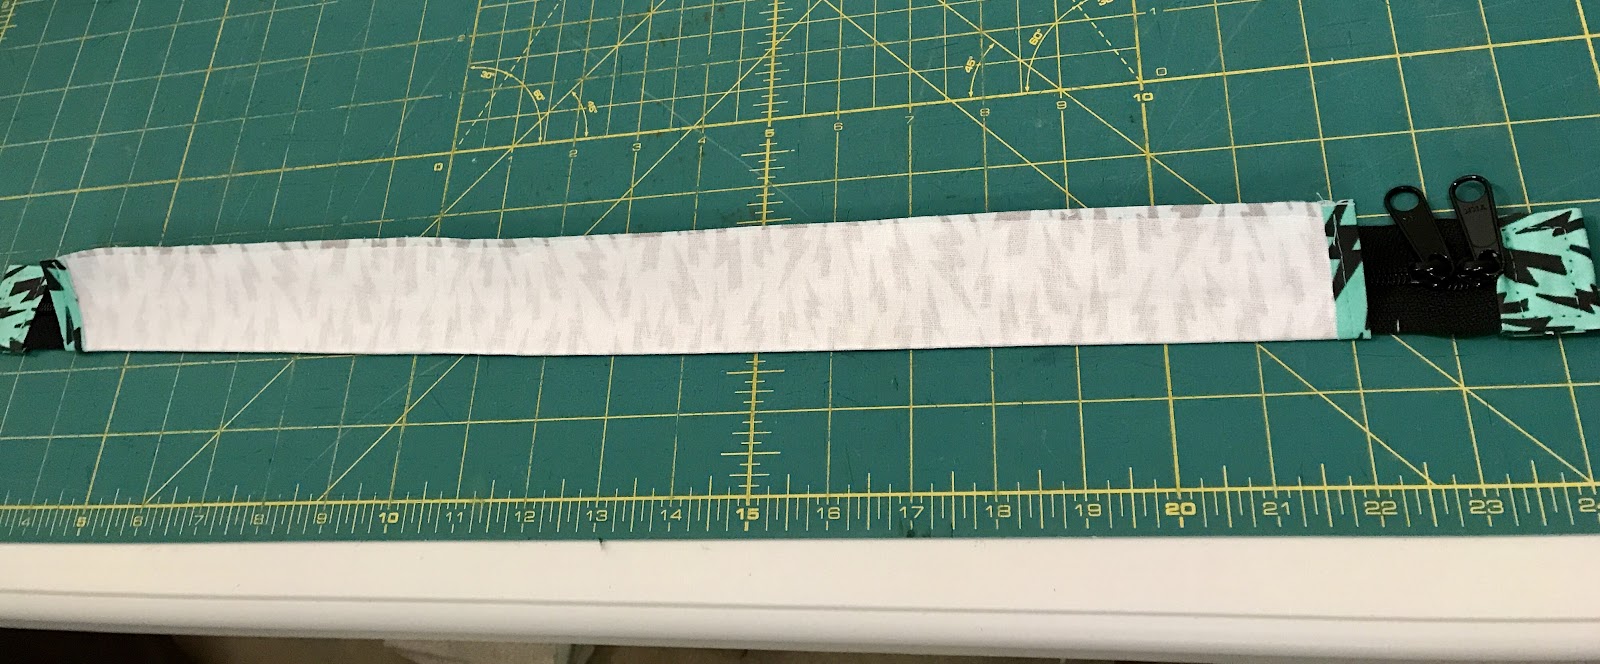
Once we have stitched on the sides, your completed lining panel should look like this: 


Yay!! Now we are going to put everything together!


Attaching the lining to the exterior: 

Clip your lining to your exterior right sides together, aligning your side seams. 


Clip carefully, there are a lot of layers here you don't want to have shift around. Using a walking foot can be helpful here if you have one. 


Once you have stitched your lining to your exterior, it's time to turn your bag right side out. Using that hole you left in the bottom of your lining, gently coax your bag through. 


There are a lot of layers so sweet talk it, give it encouragment and don't be afraid to smush when needed. Smushing is a very important bag making skill. 


Woohoo! We have almost completed our bag, it looks like a real bag now! Before stitching your lining hole closed, I like to do one final look over to make sure that the bag was behaving in while we were sewing that last seam. I always check to make sure that it wasn't tricky and shifted around and that I have everything stitched as it should be around that top edge. Once you are sure that your bag has behaved, pull your lining back up and we need to close the hole that you left for turning: 


Now push your lining back down inside your bag. 


If you would like to, you can top stitch the top of your bag below the zipper casing. I don't find this worth the trouble, as I don't think it's necessary and as Janellle indicates in the pattern it's a pain to stitch through all those layers neatly and you are also adding more holes that make your lining less waterproof. 

Adding the frames: 

OUR LAST STEP!!! Still with us? This is the easiest part of the whole project. Remember the ends of your casing you left unstitched? This is where we are going to insert your frames. Just slide it on in, easing your casing around it as you go. Your frames should have caps on the end, leave those on because they will keep the ends of your frame from rubbing against your fabric. 


Push it through, moving your casing along as you go. 


Once you get the frame in, adjust as necessary. One side down:


Repeat for the other side and you are done! You have completed your Luxie and doesn't she look lovely????


Admire your fancy new bag and get ready to have the coolest lunch bag at work or school. Thanks for joining! Don't forget to share your completed bag to be eligible to win our giveaway!


Miss a day? No worries! Catch up with the previous days here:


Thursday, July 27, 2017

Luxie Sew Along Day 4


Welcome Back! Today is a busy day! All of that pesky prep work is done and we are going to see our bag start to take shape!

By now you should a completed exterior zipper pocket, handles, and zipper casing. 

Ready? Let's sew!

Attaching the Handles:

Grab your completed handles and your exterior panels. 


This pattern has two different styles of handles to choose from. I opted for the short style. You may also notice I chose NOT to roll my handles, it's just a personal prefrence, I find rolled handles uncomfortable to carry. Follow the directions to measure and mark the placement for the handle style you choose and attach your handles as directed. 


Assembling the Exterior Panel:

We are going to attach or bottom panel to or exterior side peices to create one long exterior panel. Follow the directions in the pattern and you will end up with your completed panel looking like this:


Stablizing and Insulating the Main and Side pieces:

First, lets baste the side exterior pieces to the insulated fleece we cut to match those pieces. Using a scant SA sew around the outside edges of the side panels to baste the insulation to your side pieces.

Next we need to attach our foam to the large exterior panel (DO NOT ATTACH YOUR INSULATED FLEECE UNTIL AFTER YOU BASTE YOUR FOAM TO YOUR MAIN PIECE). 

Grab your 10" x 21.5" Piece of foam and center this to your exteior piece. The foam should have a 1/2' above and below to keep this out of your SA. Pin this in a few spots to keep it in place, then flip over and add some pins on the RS of the fabric and remove the pins you added on the WS of the fabric (you don't want to sew them up when we add the fleece in a a moment).

Now that we have our foam secured with some pins, grab your insulated fleece and place this on the WS of your exterior panel, with the foil side UP and the non foiled side against your fabric. Clip this in place all around the outside of the panel:


Sew along the outside edge using a scant SA to baste your fleece to the exterior panel. Your foam should be sandwiched between the fleece and your fabric panel. 


Attaching the Piping:

Like I had mentioned before, I am hopelessly lazy and I always use prepackaged piping. Feel free to make your own, or use the premade stuff with no judgment here. We are going to be attaching the piping to the side edges of our front panel. Before attaching the piping, I like to clip about a half inch of the cording out, just so it lays flat at the bottom of the seam. 


Just use your seam ripper to cut the last couple of stitches, then slide it past the cording inside. Then snip that last 3/8" off. It's not as necessary on this bag as we don't have to piece the ends together, but this can be super helpul on other patterns that you have to butt the ends of the piping together. 


Pin or clip your piping in place. You can also use DST, but I find that clips are my preference. 


Before stitching the piping down, I like to change out my bobbin thread to a color that I will easily see and will stand out from my basting stitches. This way, when I go to assemble the bag, I can make sure that I going to have a nice clean finish. If you follow the seam allowance properly, it will happen naturally but this gives me a little bit of extra security it will be nice and crisp. 


Pop on your piping foot, or your zipper foot if you don't have a piping foot. I picked up this adjustable piping/zipper foot on amazon for about 8 bucks and it is one of my favorite sewing tools. It's fabulous for zippers and piping. Stitch down your piping using a 3/8" SA.


Woohoo! Now we get to attach the sides. Unfortunately, I think this was the point my two year old got a hold of my phone, cause all my photos for the sides were deleted. The pattern is pretty clear here, make the marks as indicated and pin or clip your side panel at the bottom at at the top edges. Then make a few clips around the curve, careful not to clip past 1/4" from the edge (you don't want this clip near your stitching line). once you've clipped around your curves as directed in the pattern, your piece should ease very nicely around the bag. Here's a shot of the lining done in the same fashion (I do love my clips lol). 


Stitch your sides in place as directed in the pattern and your bag is starting to look like a grown up Luxie!


Adding the zipper casing:

This part seems to confuse some people, because it seems more complex than it is. You want your zipping casing RIGHT SIDE against the completed exterior of your bag. It almost seems contrary to what you want to do, but it is the right way to do it because your casing with flip UP on your exterior. See how the zipper is positioned against the exterior. Remember RIGHT SIDE FACING


Pin or clip around your bag as directed, making sure you position as indicated so we have room to install our frames. 

Once you have basted your zipper panel, you'll know you did it right if it pops up like this: 


You've now completed your exterior! Pat yourself on the back! Tomorow we will construct our lining and finish our bag! 

Catch up with the previous days here:


Wednesday, July 26, 2017

Luxie Sewalong day 3


Welcome back for day 3 of the Luxie Sew along! Today is a short day, and our last day of prep work before we start putting everything together. This will be a short day, so that anyone can catch up if they missed a day. 

Assembling the exterior zipper pocket:

Grab your completed zippper with tabs attached and we are gonna make a pocket sandwich. 


 Take the lining piece of bottom of zipper pocket and place it on your surface right side up. The grab your zipper and place it right side up, aligning the top edge of your zipper to the top edge of the lining piece. I like to use double sided tape or glue instead of pins or clips, but use whatever you are comfortable with. Then take the exterior piece of your pocket and place this WS up (so that the fabrics are RST) and align the top edges. Again secure with your preferred method and then using your zipper foot, sew these layers together using a 1/4" seam allowance. 


Fold your exterior and lining away from the zipper and press them well. Then top stitch along the bottom edge of your zipper. Your panel will now look like this:


Now, take the small piece of the exterior pocket, which is your top piece. and place it RS down and align the top edges of the fabric and the zipper. Secure and then again using your zip foot and a 1/4" seam allowance sew these layers together.  Press this well so that on the top of your zipper there is one layer of fabric and below the zipper you have BOTH your exterior and lining piece. 


Top stitch along the edge of the zipper and your exterior zipper pocket is DONE! Easy peasy! 


Tomorrow we will start assembling our exterior and you'll see the bag starting to take shape. If you still need to catch up, you can use this day to do so. See you tomorrow!


Don't forget to share your photos to the Emmaline Facebook group, or on Instagram with the hashtag #Luxiesewalong! I'd love to see your progress shots and as a bonus, those who share their completed Luxie using the hashtags by July 31st will be entered to win one of three Emmaline Bags Gift cards! You could win a 10, 15 or even a 20 dollar gift card to Emmaline Bags (think of all the bling!). 


To get notifications for the sewalong, you can join the Facebook event I created here


Tuesday, July 25, 2017

Luxie Sew Along Day 2


Welcome back! Today is day 2 of our Luxie Sew along! By now you should have your pieces all cut and ready to start sewing.

Today we are going to focus on getting our zippers ready and making our handles. If you are choosing to make your own piping, today is the day to do that. Deep breath here, piping is NOT hard, I promise! Janelle gives great directions in the pattern for making your own. I am hopelessly lazy and would rather just pick up a pattern of premade from the fabric store. It runs about 2 bucks and I always use a coupon with it. If you are so inclined to make your own, there are some great tutorials out there if you need a little more help like this one from Swoon Patterns & this one from Sew Sweetness.

Making the handles:


The handles are constructed as most bag handles are. Take your fabric and press it in half, wrong sides together along the length of your handle. Then open that strip back up and press the raw edges into the fold you just made.


Press well so all your raw edges are encased now, clip or pin together.


Sew along all sides and then set your completed Straps, if choosing to roll your handles, follow the directions in the pattern then set your straps aside for now.


Making the zip ends:

Take your zip end piece and press each side of the short ends in ½”


Then fold your other raw ends under as directed in the pattern and slide them onto the ends of your prepared zipper.


Making the zip casing for the top of the bag:

I absolutely LOVE the way this is done. By far this is the easiest method I've ever seen for putting in a zip casing, or a zippered top for that matter.

Take your long zippered casing and fold under each of the short ends ¼”


Now, take one piece and fold it lengthwise RIGHT sides together. Press well and then slide your zipper INSIDE, sandwiching your zipper in the casing, with the edge of the zipper snug against the fold. Move your zipper pulls out of the way so you don't have to fiddle with them while sewing.


Pin or clip and sew along that fold.


Flip the casing after you've sewn the zipper down so wrong sides are now together. Press well and top stitch along THREE sides of your casing (leaving a short end open to slide your frame in later, as shown here:


The panel should look like this:


Repeat for the other side of the zipper.


Set aside for now.

Now we need to make the tabs for our small exterior zip pocket:

Prepare your small zipper for your exterior pocket, cut to length directed in pattern, then secure the end of your zipper (I like to add a small strip of DST at the end to do this).


Press each short side of the tab in 1/4", then press the whole tab in half WST then slide over the ends of your zippers and slide in place over the end of your zippers.


Stitch along the folded edge to secure to your zipper and then repeat for the other tab. Your zipper should look like this now:


And that's it for today! Tomorrow we will put together our zipper pocket so we are all ready to start putting her together on day 4.

Previous Days:
Day 1 of the Sew Along