

Homemade versus handmade, some might argue that there isn’t a difference, but I think there very much is. Homemade is of course made by hand, but I tend to associate those things with the trinkets that my kids make me (which I love). However, when I make something, I don’t want it to look like I threw it together at mommy and me craft night.
When I make a bag, I don’t want it to look “homemade” but I will gladly tell others that it is handmade by me. There is a difference between those bags that look like they were bought in a store, and those that look like they were hastily sewn together.
We know how pricey sewing can be, and there is nothing worse than hating a bag that you spent so much time and MONEY on. If you want to up your bag game here are the biggest giveaways to homemade bags.
Contrasting thread
Now, I’ve seen some AHmazing bags with contrasting thread. It can make a bag absolutely pop. With that said, it’s something that you have to get 100% right. Any small error in stitching, even one wonky stitch, will stand out like a sore thumb. Back stitching, or even anchoring your pockets can be a big LOOK AT ME. Unless you are absolutely a beast, please just use coordinating thread. It’s so much less stressful and any small errors you make are hardly noticeable.
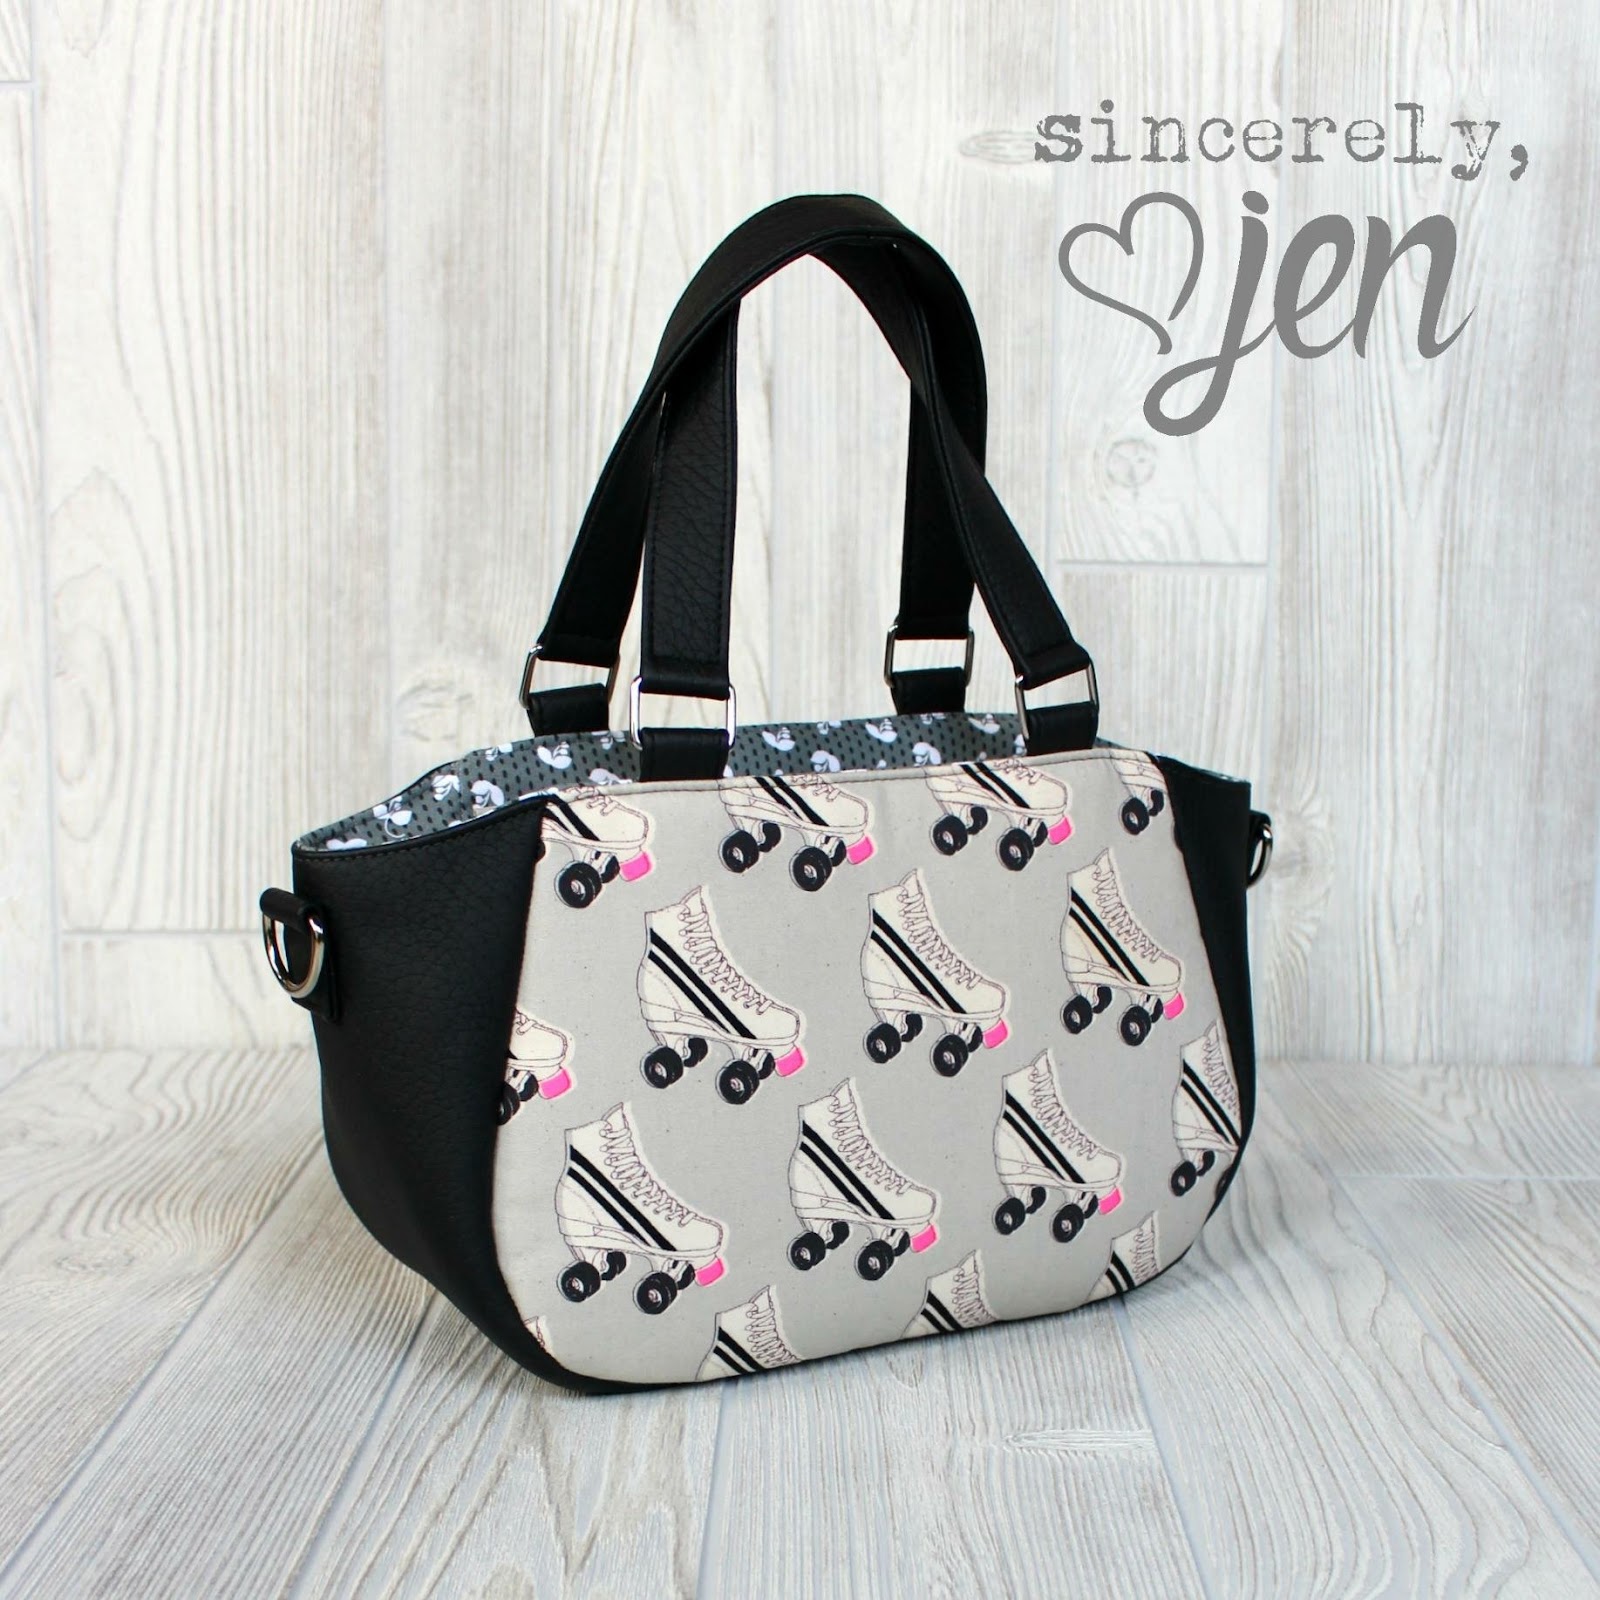
Not all of us can be as amazing as Jenny of Sincerely Jen with this GORGEOUS example of contrast stitching done right.

The wrong interfacing
Nothing says homemade like limp, wrinkly bags. Linings that sag or pleats that look like I just tried to squeeze myself into a size 0 pants because I used foam instead of fleece. I test for several designers and I can tell you that the interfacings they recommend aren’t just a random guess. It’s not unusual for it to even change up during the testing process when different combos are found to work better. They tell you what to use because, TRULY, it will get you the best results. So by all means once you have made a pattern and want to alter it, go for it, but understand that it will NOT give you the results that were originally intended for the bag. Sometimes that’s what you want, but always try it first….you’ll probably like it as is!
The wrong hardware
Hardware can make or break a bag. Sure, not all bags even NEED hardware to look fab. If your bag does call for hardware, please use the appropriate size. Straps that are 1” sitting in 1.5” rings are usually like the guy from accounting who has to cinch his belt up to keep his pants from falling down. The same can be said for cheap hardware, cheap hardware often LOOKS cheap.You don't need to spend a fortune, but there is a difference in quality. When you spend so much time on something, you don't want to make it look cheap
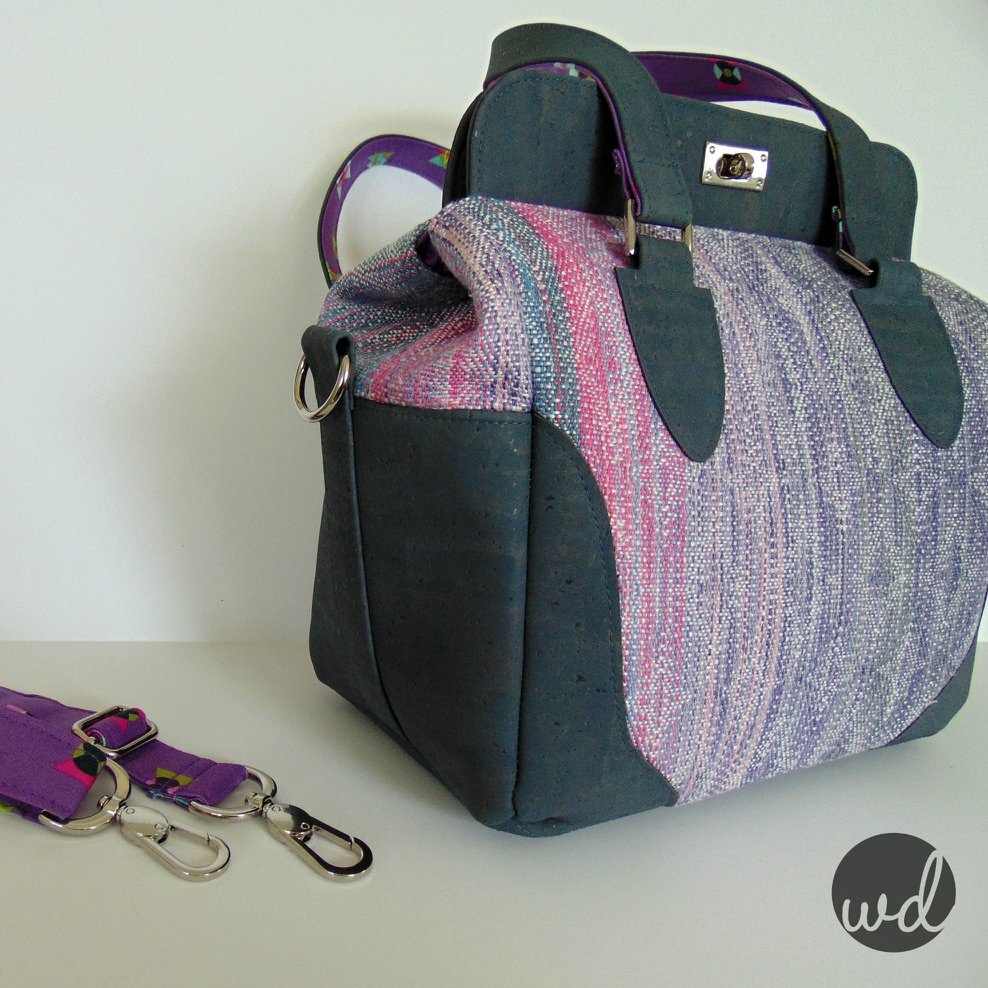
Wendy of W.D. Handbags is a master at making her bags looks polished and professional both with and without hardware.
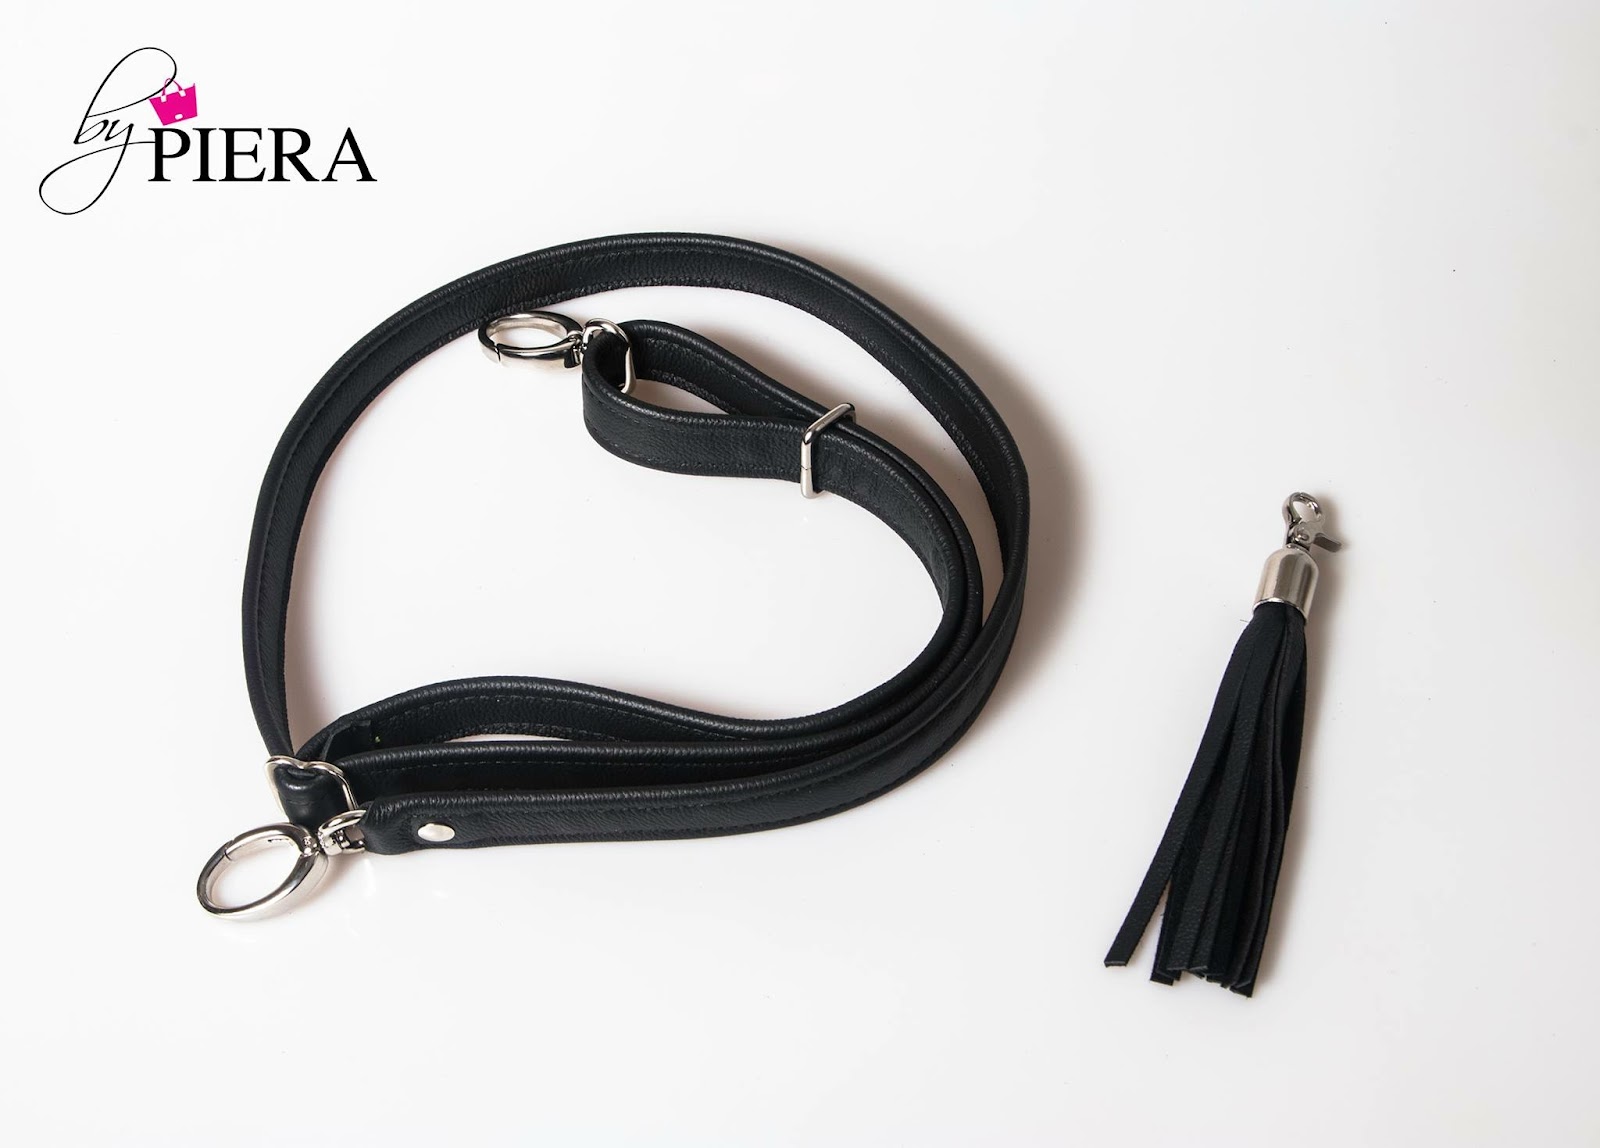
Look how polished even a simple strap can look with the right hardware on this posh strap by ByPiera:
The same can be said for poorly installed hardware. Loose snaps and snaggly rivets aren’t pretty. Always follow the manufacturer’s instructions for installation, and properly reinforce all hardware. Also, ensure that you protect your fabrics by putting interfacing over the washers on purse feet, snaps and labels.
Hardware should accentuate your bag, not detract from it. Get more hardware tips here.

Not pressing
Pressing your finished bag can take it from blah to ahhhh in less than 10 minutes. No one wants to see your center crease on your final bag. Take the time to press your bag properly and it will thank you. Margareth of Maggie Made Bags did a wonderful post on how to get professional finishing by pressing your bags here.
 |
| Photos Courtesy of Sincerely Jen |
Not top stitching
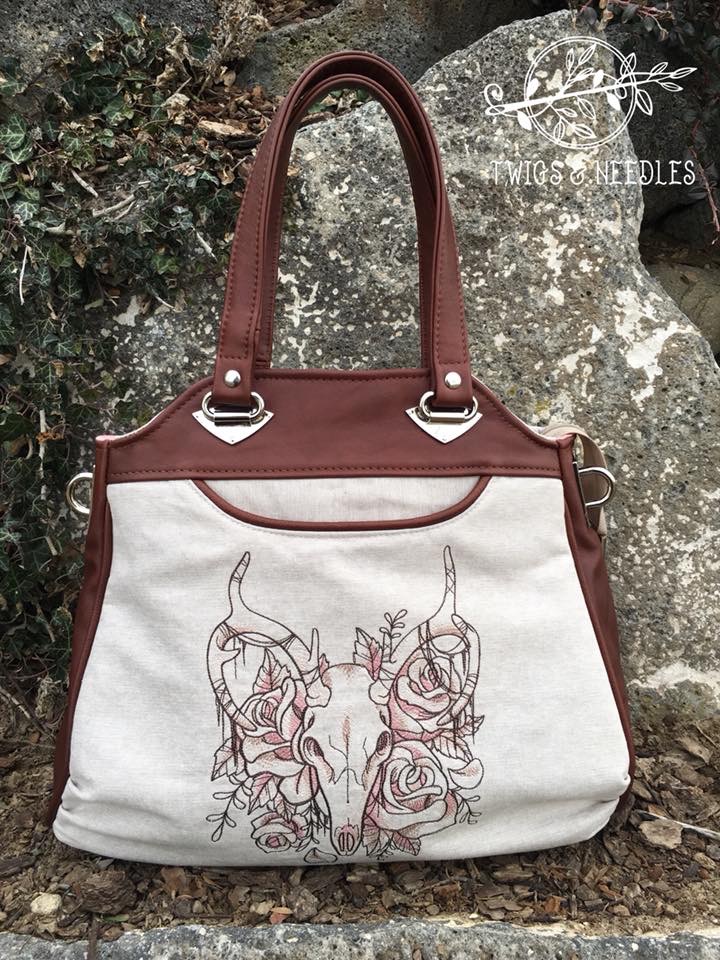
Now, as much as the contrast thread can stick out in a bad way, so can not top stitching where it’s called for. Sometimes you just HAVE to skip it, perhaps it’s just too much for your machine. In those cases it’s better to skip it than to have some messy stitching mocking you. But, there is no reason to skip it otherwise. Pockets, zip panels, and pieces want you to stitch them. They will love you for it. When top stitching, you want to increase the length of your stitches, usually no shorter than 3. Bigger is better! Jessica of Twigs and Needles has a beautifully stitched bag that shows how the right top stitching can make your bag look high end.
Wonky zippers
Zippers are a pain in the butt at times. We’ve all struggled with the learning curves of zippers. We love them and we hate them. I still get giddy over a cooperative zip pocket. The only way to sew zippers is to sew them like you love them. Tell yourself you do and show them who is boss. I’ve found that I am incapable of sewing zippers with pins. It just doesn’t mix for me. Find what works for you and try different methods of installing them. Whether it be double sided tape, clips or glue. I know some very accomplished bag makers who all use different methods. Try a few and see what you like. Like anything else, don’t be afraid to clip your zipper tape around curves. Try different feet, I much prefer my adjustable zipper foot to sew in zip pockets, but I know some people who do just great with their regular presser foot.
 |
| Photos Courtesy of Sincerely Jen |
Not cutting your seam allowances
Once you have finished sewing anything together, get in the habit of trimming your seam allowance. The thirty seconds to trim it will pay off. It’s almost impossible to get a crisply pressed slip pocket or finished bag with a bunch of fabric wadded in your seam allowances. If you are lazy like me, use pinking shears on curves if you must. But please, trim them!
 |
| Photo Courtesy of Marcie Girl Designs |
Loose threads
Ever notice a bunch of threads sticking out on a Coach bag? Nope. Trim your threads as you go. Cut off those long tails so they don’t get trapped in other seams and stick out of your bag. Once you are done, always do a final once over to get any of those orphan threads that always find a way to sneak out. Get a pair of thread trimmers, embroidery scisors, snips or anything that you will use!
Not fixing small errors
Now, I don’t mean that every bag is perfect. I am yet to sew a perfect bag. In fact I can point out at least three (or 10) errors in every bag I make. What I mean is, those small errors you make when you are sewing that you don’t stop to fix. Crooked pockets, uneven zip panels, wonky connectors. Small things can quickly add up to big things. If you aren’t happy with your pocket placement when you sew it on your panel, you aren’t going to like it more when your whole bag is complete. If you think “should I fix it”, you probably should. I’ve never regretting going back and redoing a step but I’ve always regretting when I haven’t.
This pocket? It was the world's most uncooperative pocket. It took me 4 times of stitching and unstitching to get it straight. I had initially thought about leaving it, as it was only off a little bit, but I knew that it would stick out and look probably more crooked than it was due to the print. I'm so glad that I redid it, all 4 times. The fix maybe took 10 minutes total.

Not finishing your bag
I hate hand sewing. Hate it. However, sometimes I just gotta do it. I’m not fortunate enough to have perfected the very ends of drop in linings. I manage to make it to the very last couple inches and things just don’t go my way. I’ve embraced it, I just hand stitch the last couple inches and I don’t hate drop in linings anymore. I know that it looks good inside and not just outside. I’ve seen some bags that they just leave these holes at the ends of those panels. It takes 15 minutes to finish it and it looks so much nicer.
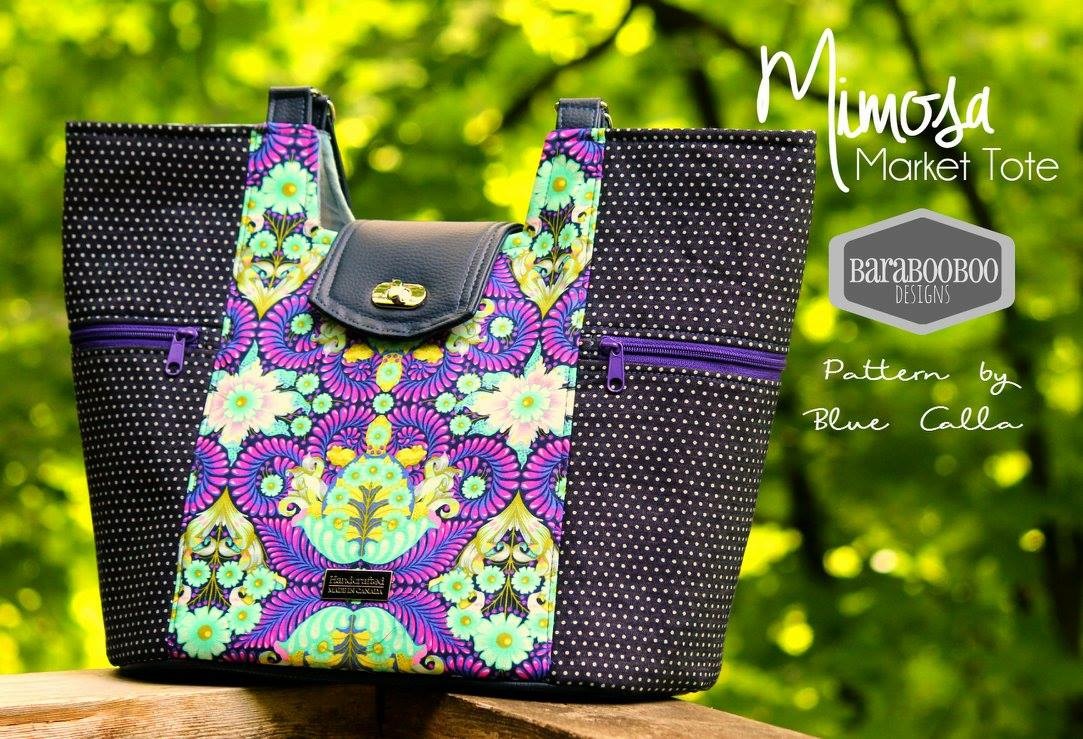
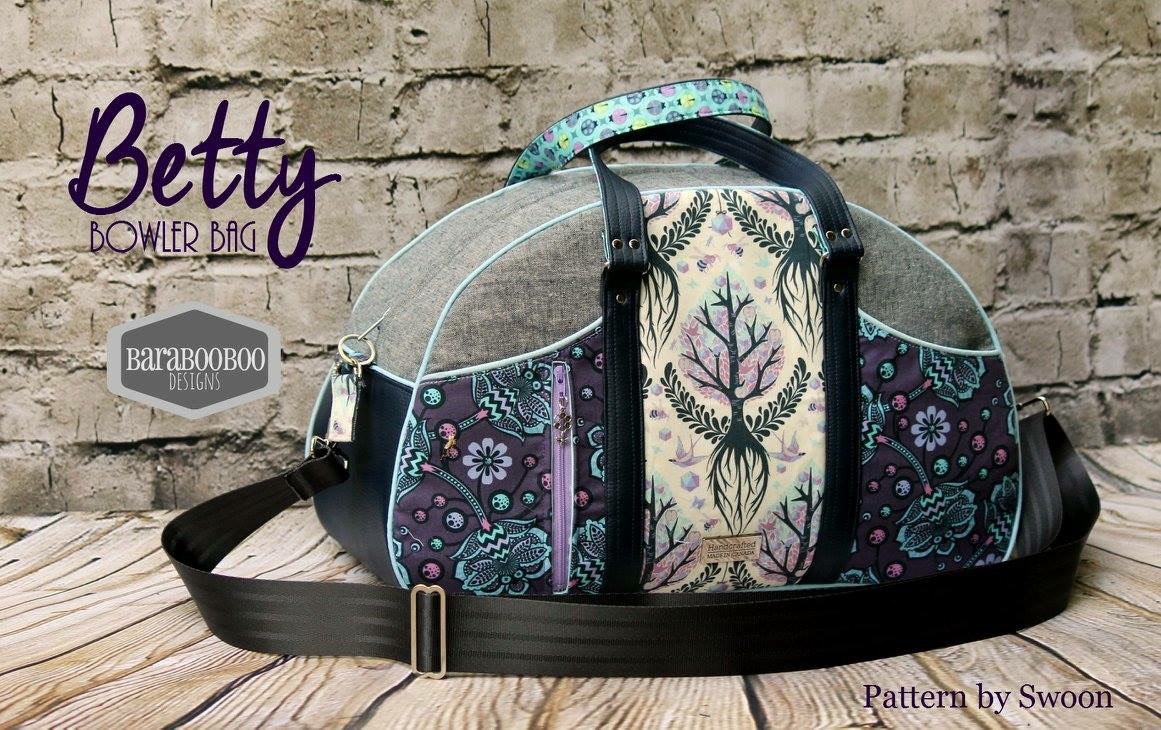
Not considering fabric placement
I am always in awe of people like Michelle from Baraboobo who can rock fussy cutting and make all their bags look seamless with large or specific prints. I am NOT one of those people. But, even if we can’t fussy cut like that, you can try and consider where the fabric repeat is placed on the bag. If you are using a fabric with an obvious focal point, try and center that on your bag panel. Being off by a half inch or so won't be as obvious as being off by 3 inches.
Following random advice on the internet
I totally get the irony here. But seriously, there is so much information out there and it can be hard to know what is good and what isn’t. I’ve seen everything from using sharpies, to change thread colors to using hot glue guns for bindings. If you don’t know how something could reasonably work, please don’t trust it as sound advice if you don’t know the source. Designers put a LOT of time, energy, and effort into developing their patterns. They don’t recommend something because they think it might work, they recommend it because they know it will. At the end of the day they want you to be happy with the bag you make. People always have advice, but as in all other areas, it's important to remember it's not all GOOD advice, even if given with the best of intentions.
I hope this doesn’t read as telling you to never experiment or deviate from a pattern or idea. I don’t mean that at all, but it’s always better to test something out before you start going all Frankenstein. The best way to learn is by trying new things, but please be careful where you get your information and consider the logic behind ideas and techniques. What else have you learned along the way? What tips worked for you and what didn't? I feel like I learn something new with almost every new bag I make. I'd love to hear your favorites and what you learned along the way!

