Monday, February 27, 2017

Leather Compass Bag

Sewing in leather was a huge goal for me. It always seemed something that would be impossible with out an expensive industrial machine and much more experience. A few friends of mine that make just incredibly gorgeous leather bags encouraged me to give it a go and that although it may be challenging without an industrial it could totally be possible.


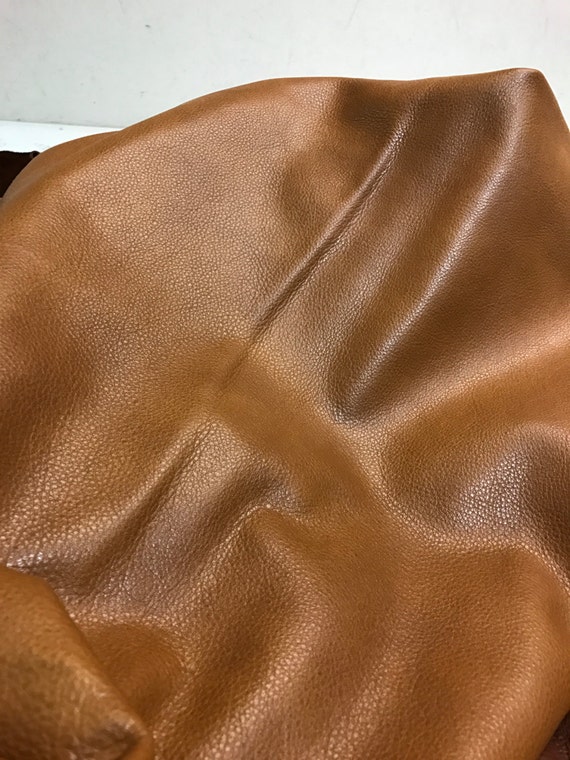
I asked my friends a bazillion questions, and spent many an hour researching. Once I finally felt like I was ready to give it a go I found some beautiful leather from The Tannery NYC on Etsy. After getting my leather, it sat around for me to pet it and stare at it for a while I found the perfect bag for it.


Initially I had grand plans of making my own pattern to imitate a couple of bags I had seen in stores, but after coming to my senses realized that making my own pattern to sew leather for the first time was asking for frustration and disappointment. So I chose the Compass Bag by Noodlehead for my leather bag.


I chose to do the large version of the bag, and I had purchased a half hide of leather with is approximately 10 square feet. As leather is not man made, there are imperfections in some places on the hide and the shape is irregular so it's important to be careful about how you lay out your pattern pieces. You want to minimize the amount of leather that you need to use for your bag to make sure that you have enough to cut all your pieces while being careful to cut around any portions that have irregularities or marks that you don't want on your bag pieces. If I had picked a smaller bag, I would have had more wiggle room in case of errors. 


After the bag was completed I had very little left over, and there was zero room for error if I messed up a piece. Luckily I had enough for what I needed but it is a bit stressful knowing that I couldn't just cut out another piece if I messed up. I'm not usually the one who measures twice and cuts once but with this leather I must have measured and double checked my pieces before cutting a dozen times.


As I said before, I don't have an industrial machine (someday, hopefully soon!) but I have a heavier all mechanical Janome which does well with bulk and heavy materials. There was some wrestling, especially at the bottom where the pockets connect but we managed. I don't plan on sewing leather exclusively with my Janome, luckily it's mechanical so there is less to worry about messing up but it's definitely taxing on the machine. I had to use large leather needles and hand crank at several parts. 

I did have to modify the lining a bit. As written the pattern the lining panels are made of 4 pieces (2 for each panel) just like the front. I didn't want the extra seams in the lining so I modified it to be be just 2 pieces. Additionally I was worried about how the top seam would be very bulky and I would struggle with the top stitching if I had attached the lining to the exterior and turn, so I chose to add a strip of leather facing on the top portion of the lining and then insert it, leaving the top edges of the leather raw. 


I really like the exterior pockets, and although I like the look of zippered interior pockets, they just don't suit my needs well so I added two divided slip pockets instead.


I really love how the antique brass works with the color of this leather. The strap anchors give an interesting pop on the side of the bag. I love that it adds a bit of interest to a otherwise simple and clean bag.


I'm so so happy with how this bag turned out! It's my new every day bag. It's super roomy, classically simple and so me. It's quite a large handbag at 11.5" W x 13" H x 5" D, the smaller size would be well suited to those that like a smaller bag. 

I really enjoyed this pattern as well, Noodlehead's patterns are easy to follow and I the clean lines and classic looks translate well into leather. I'm already planning another!

If you've been thinking about sewing with leather, give it a go! You might be pleasantly surprised! Even if it's just for accent pieces and straps, it's a lot easier to work with than I had expected. 


Thursday, February 16, 2017

Introducing Ellen's Esplanade

=

It's pattern release day!

Meet Ellen's Esplanade, the newest pattern by Chris W Designs for her easy street pattern lineI loved sewing up this bag, it's a very quick sew and results in a polished and fucntional shoulderbag that is so fun to carry. At 15" W x  11" H x 5.5" D it's a generously sized bag without being oversized. 


I loved the side pockets, they are cute and super convenient for stashing your phone, keys, and even a small umbrella. I also love that this design element allows you to use up a fun print that you've been holding onto our pairing something fun and bold against a more neutral main panel print. 


For this bag I used essex linen for the exterior and strap, this gorgeous AMH print for the pockets and for the interior I found a beautiful purple peppered cotton that plays against the purple in the pockets.


The interior has a zip pocket, that is very generously sized and the bag construction involves turning the bag through this pocket, a technique that I love. 


The top has a recessed zip closure and is super easy to install. As a general rule, I am not a fan of zip pockets in my personal bags only because I am always too lazy to zip them closed. With that said, I always love the way they look, and I think recessed zips are my favorite!


The recessed zip also allows for a bit of bling by way of the zipper ends. I do love my bling! You can get these zip ends from Emmaline Bags here


I loved how the top stitching thread popped against the linen! It might be my favorite thing about this bag. 


This bag calls for either fusible fleece or foam stabilzer depending on your preference for structure. I opted for the foam stabilizer and I did like the results, but I think if I make it again I would prefer the slouchier look that fusible fleece would give. The only part that I didn't like was that I had used fusible fleece in the side pockets, which flop over at the top with the weight of the hardware when not being carried. Next time I will try fleece on the body and possibly foam on the side pockets to help keep them more structured. 


This bag is a very quick and pleasant sew, it comes together easily and is a great way to try different looks by using various types of fabrics and hardware. I love that the side pockets are functional. 


Head over to read up on the pattern release and pick up your copy here.


Wednesday, February 1, 2017

February BOTM: The Sublime Bag by Sew Sweetness


Are you a member of the Bag of the Month Club? It's a fun subscription that gives you a new bag pattern each month from one of six fantastic bag pattern designers. Although the bag itsef is secret until the first of each month, you know that the patterns are going to be well written and easy to follow. If you follow along each month, you will learn some new techniques and it will absolutely increase your confidence and knowledge of sewing bags.


The February pattern is the Sublime Bag by Sew Sweetness. This bag is a medium sized handbag that requires little to no hardware to create. It can be made using all fabric, or you can include some vinyl, cork or leather if you like to add some contrast to your bag. The front of the bag has a unique zip pocket that adds an interesting touch to your bag while being a great feature to keep essentials handy.


I love that the design of this bag lends well to showcase prints, and fussy cut your fabric. I attempted to do this with these adorable owls. Since I tested the bag, Sara has since added a template for those of you that want to fussy cut your feature panel which makes it super easy to do!


The interior of the bag has both a zippered and accordion pocket and PLENTY of room to tote around your goodies.


If you join the club now, you will receive both January and February's patterns and then on the 1st of the month until June you will receive a new pattern. It's such a great value and a fun way to try out something new!