

I asked my friends a bazillion questions, and spent many an hour researching. Once I finally felt like I was ready to give it a go I found some beautiful leather from The Tannery NYC on Etsy. After getting my leather, it sat around for me to pet it and stare at it for a while I found the perfect bag for it.
Initially I had grand plans of making my own pattern to imitate a couple of bags I had seen in stores, but after coming to my senses realized that making my own pattern to sew leather for the first time was asking for frustration and disappointment. So I chose the Compass Bag by Noodlehead for my leather bag.

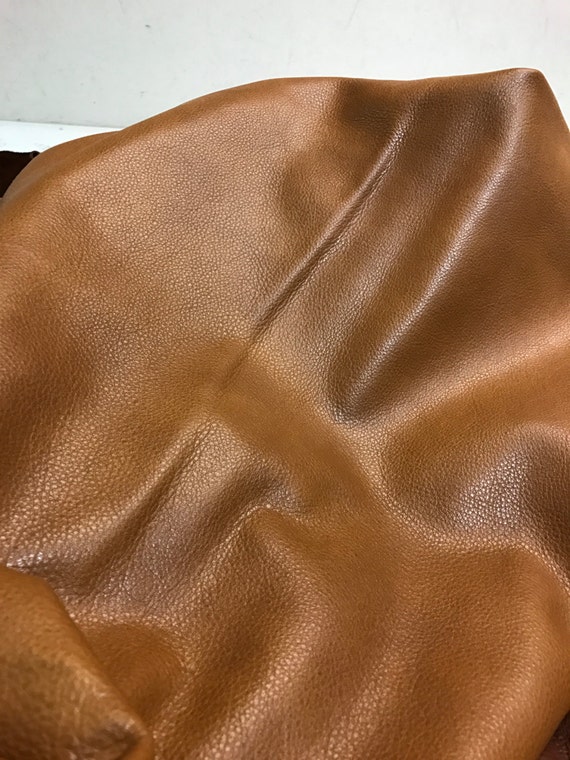
I chose to do the large version of the bag, and I had purchased a half hide of leather with is approximately 10 square feet. As leather is not man made, there are imperfections in some places on the hide and the shape is irregular so it's important to be careful about how you lay out your pattern pieces. You want to minimize the amount of leather that you need to use for your bag to make sure that you have enough to cut all your pieces while being careful to cut around any portions that have irregularities or marks that you don't want on your bag pieces. If I had picked a smaller bag, I would have had more wiggle room in case of errors.

After the bag was completed I had very little left over, and there was zero room for error if I messed up a piece. Luckily I had enough for what I needed but it is a bit stressful knowing that I couldn't just cut out another piece if I messed up. I'm not usually the one who measures twice and cuts once but with this leather I must have measured and double checked my pieces before cutting a dozen times.

As I said before, I don't have an industrial machine (someday, hopefully soon!) but I have a heavier all mechanical Janome which does well with bulk and heavy materials. There was some wrestling, especially at the bottom where the pockets connect but we managed. I don't plan on sewing leather exclusively with my Janome, luckily it's mechanical so there is less to worry about messing up but it's definitely taxing on the machine. I had to use large leather needles and hand crank at several parts.
I did have to modify the lining a bit. As written the pattern the lining panels are made of 4 pieces (2 for each panel) just like the front. I didn't want the extra seams in the lining so I modified it to be be just 2 pieces. Additionally I was worried about how the top seam would be very bulky and I would struggle with the top stitching if I had attached the lining to the exterior and turn, so I chose to add a strip of leather facing on the top portion of the lining and then insert it, leaving the top edges of the leather raw.

I really like the exterior pockets, and although I like the look of zippered interior pockets, they just don't suit my needs well so I added two divided slip pockets instead.

I really love how the antique brass works with the color of this leather. The strap anchors give an interesting pop on the side of the bag. I love that it adds a bit of interest to a otherwise simple and clean bag.


I'm so so happy with how this bag turned out! It's my new every day bag. It's super roomy, classically simple and so me. It's quite a large handbag at 11.5" W x 13" H x 5" D, the smaller size would be well suited to those that like a smaller bag.
I really enjoyed this pattern as well, Noodlehead's patterns are easy to follow and I the clean lines and classic looks translate well into leather. I'm already planning another!
If you've been thinking about sewing with leather, give it a go! You might be pleasantly surprised! Even if it's just for accent pieces and straps, it's a lot easier to work with than I had expected.


5 comments:
I would love to know your source for the gorgeous hardware, especially the strap anchors and what size of swivel clips you used. Is the technique that you used for the lining called a drop in lining? I am fairly new to bag making so I am trying to learn all of the new lingo. It is an absolutely gorgeous and well made bag. If you get tired of it, you can send it my way. Also what weight of leather did you use?
Thank you so much! Bag making is definitely addicting. This was made with 2.5-3oz weight cowhide. I did do a drop in style, to avoid the bulk at the top since I don't have an industrial machine.
Check leatherworking blog to know more about leathercraft. A smooth and perfect texture is the main factor for choosing a piece of finished leather, but it's not the only one. Moisture content is also vital, as well as thickness and flexibility. There are some other important aspects to consider when selecting finished leather material for your next project too. In order to create a perfectly smooth surface, most artisan crafters prefer high quality split or grain leathers that don't have any marks or blemishes from the skinning process.
I loved the finishing on this leather bag, shows a fine craftsmanship. Superb work!
Wonderful!
Post a Comment