Monday, October 10, 2016

Butterfly Sling Purse Sew Along Day 1


Happy Monday Fellow Bag lovers and Happy Thanksgiving to our Canadian Friends! Today we are kicking off the Butterfly Sling Bag Sew Along. Hopefully, by now you have gathered all your fabric and supplies and are ready to do all your cutting and prepping today. If not, no worries! You can follow along at your own pace, these posts will stay up so no pressure to get everything done on the same schedule.

Before we get started make sure you have gathered all your supplies and are ready to getting cutting. If you are anything like me, the task of picking the right fabrics often takes just as long as sewing up my projects. If you are joining us make sure you gather your pattern and hardware:


-The Butterfly Sling Purse Pattern by Emmaline Bags. Get your copy here.
-The Butterfly Sling Purse Hardware kit (If you haven't purchased the kit, the hardware you will need to complete this bag is listed in the pattern and can all be purchases separately)

**Act quickly if you want to take advantage of the sale and save 20% on your purchase of the pattern and/or the hardware kit. **


Ready?! Let's get the dreaded (at least for me) prep work out of the way. For this bag there is only ONE pattern piece to print, which is for the closure strap end if you wish it to have it rounded. Other wise we are just cutting from measurements, so that's a time saver when it comes to prepping! Once you have all your supplies, you can refer to the cutting instructions. For those of you who like to strictly follow directions, or are cutting directional prints, Janelle gives a clear layout for cutting your pieces, For those who are feeling a little more rogue, or are noty using a directional print: cut the pieces in whatever layout you find works best. Just remember to measure twice and cut once!


Now that you have all your fabric and interfacing cut, lets get fusing! Please refer to the maufacturer's instructions on how best to fuse your interfacing to your fabric. I've found that the woven Pellon Shapeflex called for in the pattern is typically pretty easy to fuse and really doesn't matter whether I iron it from the interfacing or fabric side, but do whatever you think is best . As far as the fusible fleece, I find that ironing in from the fabric side with a spritz or two of water works best for me. 


For this Butterfly Sling, I did substitute a foam stabilizer, but this is because I had it handy and I like the structure that foam gives. Sometimes the foam can make doing a zippered pocket a pain, so if you choose to use foam, I would suggest cutting a 1 "inch rectangle out of your foam where the zipper will sit on your interior pocket before basting/fusing your foam to your panel. If you forget, it's no biggie but it does make it a little more challenging to make your zip pocket sit as nicely, but just press the heck out of it!


Now that all your fabric is cut and prepped for sewing, we can call it a day and jump into the real fun tomorrow! Another plus of prepping your fabric a day before we start sewing is that the interfacing will have time to cool and will be better adhered to the fabric before we start sewing (I learned this tip from Margareth of Maggie Made Bags, it really has made a difference).

Feel free to follow this sew along at your pace! No need to feel like you HAVE to start and stop with us. I'd love it if you share your progress on Instagram or Facebook. Use the hashtag #butterflyslingsewalong so we can all see your progress and if you haven't already join the Emmaline Sewing Patterns Group on Facebook. Come back and join us tomorrow as we start constructing the exterior pieces. Happy Sewing!


Wednesday, September 28, 2016

Butterfly Sling Purse Sew Along


I have always been a big bag girl, the bigger the better but the Butterfly Sling Purse is a little bag with the heart of a BIG bag. 


This little lady can hold a deceptively large amount of stuff, which makes it ideal for those of us who carry a little bit of everything. The last time we went to our local amusement park, this bag was perfect; I could get all the stuff I needed inside, but easily wear her on the coasters and not feel like I was lugging around a suitcase. At 9" x 6" you will be glad to trade in your hold everything mom bag for this lady for the day. 

Right now Janelle is offering a 20% discount on both the pattern and the hardware kit to make this sweet little lady, and in honor of the sale I will be hosting a sew along. The sew a long will kick off on October 10th, so you have plenty of time to gather your supplies and be ready to sew with us! 

Here's the schedule:

October 10:
Day 1.
                -Cutting fabric and interfacing. Attaching Interfacing

October 11:
Day 2.
                -Making your exterior pieces:
                                -Making slip pocket
                                -Attaching slip pocket
                                -Make & attach ID window
                                -Make small zipper pocket

October 12:
Day 3.
                -Making your exterior pieces continued:
                                -Attaching magnetic Snap
                                -Making and attaching closure strap
                                -Attach turn part of turn lock
                                -Making and attaching Shoulder strap tabs
                -Making Internal Pockets
                                -Making and folding card slot pockets

October 13:
Day 4.
                -Putting it all together
                                -Preparing zippers
                                -Making pockets
                                -Closing up open edges
                                -Adding hole for turn lock
                                -Making and attaching shoulder strap


Head over to Emmaline Bags to pick up your copy of the Butterfly Sling Purse and your hardware kits for 20% off. There are 4 different kits so you can pick up the one you most fancy. 


Order now so you'll be ready to sew your bag up with us starting October 10th. Happy Sewing!


Monday, September 26, 2016

Emblem Duffel Bag


Hello and Happy Friday!!  I'm so glad it's the weekend and I'm excited to share my Emblem Duffel Bag that I had the opportunity to test for Sara of Sew Sweetness. Sara's latest pattern is a great unisex pattern that could work as an overnight bag, a gym bag or even just a "I need to carry a crap ton of stuff around" bag.


The exterior is a fun and bold metallic Echino print that I adore (hello silver foxes!). the handles were made with silver glitter mirror canvas from Mikri World Supplies (LOVE that stuff!!!!) and I made my first purchase from Zipper Island for the hot pink zipper. I ordered on a Friday and got my zips the following Monday! I keep a lot of zips on hand but this one calls for a 30" zip, other than having to order the long zips, the other hardware most bag ladies will have on hand. 


I love the hot pink zipper against the mustard Echino!


This bag was a relatively quick and straightforward sew, and with the exception of adding the tabs on the side for the shoulder strap. That part wasn't overly complicated but it's fair to say that my machine and I weren't seeing eye to eye about how to stitch those tabs down. There might have been a few unpleasantries exchanged along with several broken needles....but that was my fault and not a reflection of the pattern. There are pattern pieces that indicate that you cut away from your stabilizers and interfacings in these areas to avoid just such difficulties, but let's just say that I **might** have overlooked that part until a bit later....oops. 


I super love the boxy shape of this duffle, it's not round like a lot of duffel patterns out there. It also makes for pretty quick construction. If you can make a zip pouch, you can totally  make this bag!


Head over to Sew Sweetness to get your copy of the Emblem Duffel Bag! You could sew up a few over the summer for when fall sports start, or make yourself a new bag. 


A Ghastlie Daisy Cross Body


Now that summer is winding down, I'm getting reacquainted with my machine (yay!). I've been working on bags of course. Last weekend I sewed up my first Daisy Crossbody Bag by Blue Calla Patterns.


She was a delightfully quick sew and I had a lot of fun making the scallop accent on the front. I've been holding on to a bit of this fun Alexander Henry Ghastlies print for a while and this bag was perfect for showcasing those super fun characters.


This was my first attempt at making scallops and I was a bit intimidated at first, but it came together so well and I was so happy with how they turned out. I'm normally not a huge fan of fussy cutting because of all the waste involved but it was so worth it for this bag!


Although I enjoy making bags with all the bells and whistles (zippers, hardware and accents), there's something so satisfying about sewing up a bag that delivers a lot of wow without a lot of effort. These scallops really make this bag pop.

For the exterior I choice Essex linen so that the the focus would be on the accent scallop. The quilting and topstitching were done in a bright lime, because of course I had to put something bright in there!


This bag features an adjustable strap and a magnetic closure. It calls for a zippered interior pocket, but as I initially was making this for me, I opted against it. After making and carrying a variety of bags, I've found I never end up actually closing any zippers and divided slip pockets are more my preference (one for phone, another for keys and anything else I need to keep within easy reach).


I love those sassy ladies!


I also opted to replace the suggested interfacing with foam stabilizer, only because I like super structured bags. I would note that it made the gussets a bit thick, so if you don't have a beastly machine or sew a lot with foam; you'd be much happier sticking with the suggested interfacings. I really loved how this bag turned out, and I will be making more. Seeing other Daisies I think it looks fab without the scallop accent as well. You could use vinyl for the top band and strap, or event the gusset to totally change the look of this bag. I had to add in my Emmaline Bags bling, I can NOT stop making these tassels!

Pick up your copy of the Daisy Cross Body Bag here.

What has been on your sewing table lately?

Tuesday, September 6, 2016

Pool Side Tote and the Swap Bug

Wow, where did summer go? Labor day has come and gone and fall is around the corner. In the blink of an eye there is pumpkin everything, everywhere. Earlier this year, I hosted my first swap with my friend Sey, and we have had so much fun hosting them together, we are now in the middle of our THIRD swap. We have had some amazing sewists participate and it's been so much fun that we've just kept going.

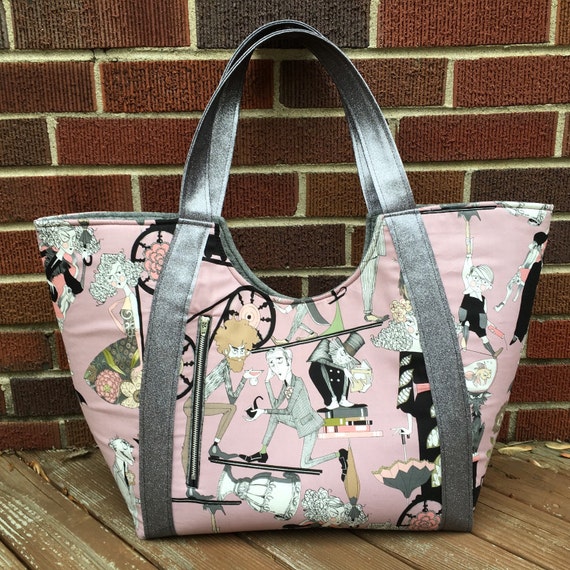
The first swap we did was the Instagram Pool Tote Swap, right before the start of summer. It was a secret swap, but I purposefully chose to make for Sey as a thank you for being awesome and for all her help. She is a huge Alexander Henry fan, and I heart Ghastlies so I had a ton of fun making for her.

As it was a pool tote swap after all, what better choice than the Poolside Tote from Noodlehead?


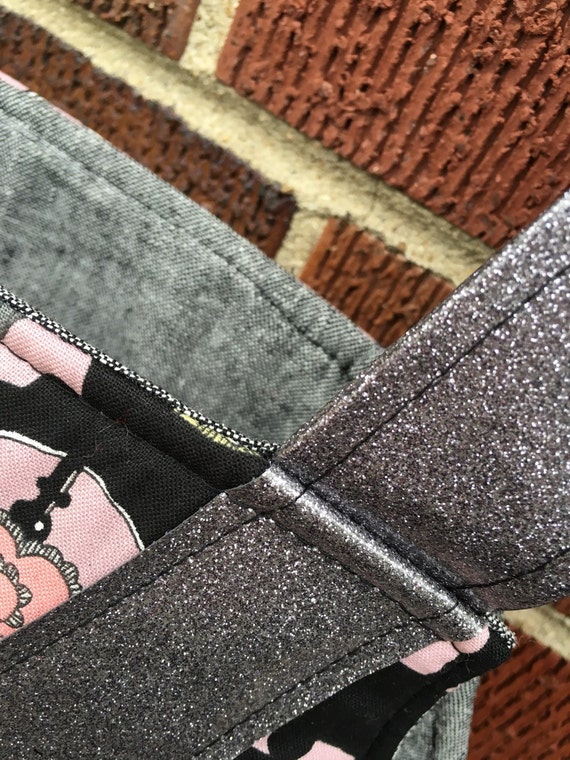
I was also starting to get my feet wet with this amazing Glitter Mirror Canvas from Mikri World Supplies...this stuff is amazing. It's so much easier to work with than your typical glitter vinyl but gives the same awesome results. It's much thinner but still very durable and have not used it in several bags with great results. If you have been frustrated with regular glitter vinyl, you should give this stuff a try, you'll be hooked!


I've had this pattern for a while, but never got around to sewing one up. It was initially a part of the very first Bag of the Month Club, and I've been holding on to it since then. The pattern itself is pretty straightfoward and easy to follow and I LOVE the shape of the bag, It's not your typical 'tote' bag and thats one the things I love about it. 


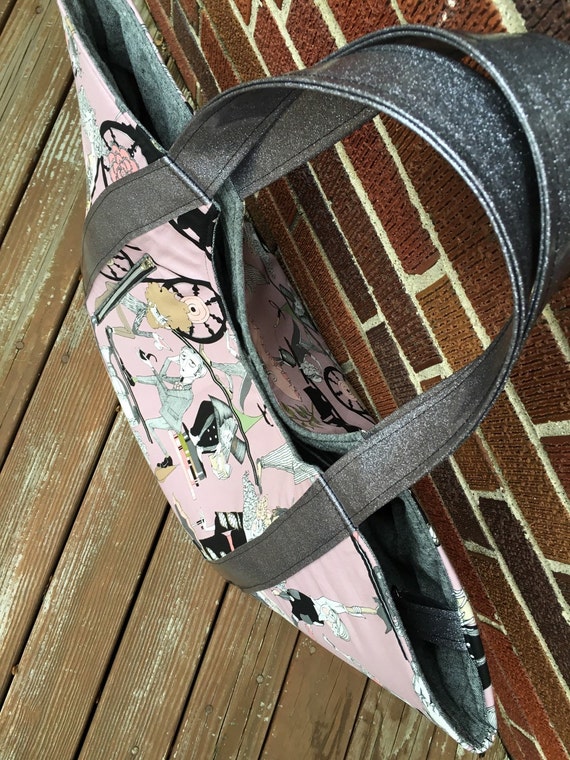
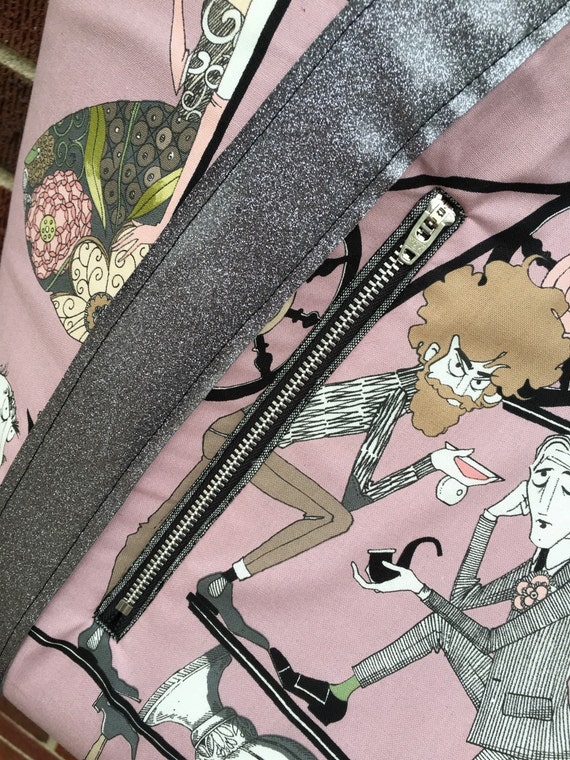
I did make a few modifications to the pattern. Firstly, the pattern calls for a facing accent on the interior of the bag. I opted to skip that, as I liked the look without. Also, I decided to do a welt zip pocket on the exterior, as I wanted it to obscure as little of those fabulous Ghastlies as possible. I also did both a zip pocket and slip pocket on the interior or this bag. There is so such thing as too many pockets!


This bag is one big Mama at 14.5" tall, 14.5" wide (at bottom) and 7.5" deep.  You can easily fit all you need and then more in this tote. The interior has a clip at the top to latch your keys onto so they don't get lost in this big lady.


Although summer is over, and the need for a pool tote is dwindling this is a great pattern to have in your library. It would make a great diaper bag with some modifications, or if you are like me need a bag to put your other bags in. A lady always needs more bags right?


Tuesday, August 9, 2016

IITBS-- Jen of Sincerely Jen: How to sew with Vinyl


How is it the last day of the It's in the Bag! series already? What a fun week with some great giveaways and so many awesome tips from bag gurus. For our last day, the queen of vinyl herself, Jenny of Sincerely Jen gives us her tips on sewing with vinyl to take the fear out of adding this to your bags.

Jenny makes the most incredible bags, and many of the Swoon Patterns feature her bags on the cover. She does a fabulous job mixing fabrics with vinyl and other design elements to create stunning and professional looking bags.


If you don't already follow Jenny on Instagram, you are missing out! I always feel inspired to sew whenever I see what gorgeous projects she is working on. If you'd like to order one of her stunning bags, hit her up on Facebook to see what she currently has to sell or to order your own custom bag. 


..................................................................................................................................................................


Hi there!  I'm Jenny, from Sincerely, Jen, and we're going to talk about vinyl today!  I was honored when Cyndi asked me if I'd be willing to write a post on sewing with vinyl.  I've been sewing bags with vinyl for a few years now.  Usually they just have vinyl accents (typically per the instructions of my #1 favorite, Swoon Patterns.)  When I was asked to do this blog post, I figured I better make an all vinyl bag so I could at least feel qualified ;)

This is the Blanche Barrel Bag.  Pattern by Swoon Sewing Patterns.


Since sewing with vinyl is always surrounded with so many questions, lets do this in a Q & A format!  I posted on Instagram a few days ago asking for questions about vinyl and everybody was so helpful!  Now I'll try my best to answer the most important questions to the best of my ability.  My way may not be the "right" way, but it is what works for me!

First things first, what is the best vinyl to purchase for sewing bags?

When I'm shopping for vinyl, I usually like to buy it in person so I can see what I'm getting.  You want an upholstery vinyl, so it is heavy enough to hold up in bag making, and it doesn't have much, if any, stretch to it.  I have a local shop where I buy a lot of my vinyl, unfortunatly they are not online.

This is the type of flannel backing you are looking for.
However, I buy my most favorite vinyl at JoAnn's, and you can find it here - this vinyl has a flannel backing, which is what you want to look for.  I find that most marine vinyls are too thick and stiff for bag making - my only exception to this is glitter vinyl, of which I prefer the marine vinyl variety (I buy that from Fabric.com).  In my experience, with vinyl, you get what you pay for!!  I love looking for a good deal as much as the next guy, but don't scrimp on your vinyl!
You DO NOT want this!! The backing seems
like a quilt batting and the vinyl feels like thin plastic.


What sewing machine do you use?

My main squeeze is my Juki DDL-8700.  It is an industrial machine and she is a beast!  I go through several layers of vinyl on this machine and have no problems at all!!!  (Just look at all those layers!)


For years, I sewed all my bags on my Brother PC420.  It is an electronic domestic sewing machine.  I wouldn't dream of sewing an entire vinyl bag on this machine, but I've made several bags with vinyl accents on this machine with no problems! (Especially if you get the Jo'Ann's vinyl I linked above!)


What needles do I use to sew vinyl?

   For my domestic machine, I use Schmetz Size 18 Leather needles.

   For my Juki, I use Organ DB X 1 size 16 needles.


Do you use special feet for sewing vinyl?

The foot I would most recommend for sewing vinyl is a Teflon foot.  It has a non-stick coating on the bottom that helps it to glide across vinyl easier.  There are also roller feet that are useful in this application, however I have not used one before.  With my Juki, I use the regular metal feet with no problems with most vinyls.  Test the foot you want to use on a scrap of your vinyl to see if it sticks before sewing your bag.  If your machine has an adjustable presser foot pressure (say that 5 times fast!) I notice that it is helpful to reduce the pressure on the foot and that helps the vinyl to glide more easily as well. 
These are both Teflon feet (see the white coating on the bottom?)  The one on
the left is for a domestic machine, and the one of the right is for the Juki.
I have also heard many recommendations of using a walking foot to help your vinyl feed more easily and evenly.  This is a walking foot for a domestic home sewing machine.  I'm not even sure if there is one for my Juki (I'd like to know that if there is!)


What kind of thread do you use?

I just use what my machine likes!  With my Brother, I always used Coats and Clark.  My Juki loves Gutermann thread!  If I know what colors I want, I order Mara 100 from Wawak.com.  Most of the time, I just buy Gutermann polyester Sew-All thread from JoAnn's - it is very close to the Mara 100.  If I want a nice thick top-stitching thread, I buy the Gutermann's top-stitching thread they sell at JoAnn's.  

While we're talking about thread, I use a stitch-length of 5 for top-stitching with the heavy top-stitch thread.  If I use the other threads for top-stitching, I use a stitch-length of 4.  For seams, I usually use a length of 2.5. 

Left:  Gutermann 100% Polyester Top-Stitching thread
Center:  Gutermann 100% Polyester All Purpose Thread
Right:  Gutermann 100% Polyester Mara 100


You can't pin vinyl (because the holes will be permanent) so what do you use instead?

Wonder Clips and Tanner's Bond Double Stick Tape are my two favorite things when I can't pin!


I use the double stick tape for things like making handles or piping.  

For handles:  Draw a line down the center of the handle pieces.
Add a line of double stick tape along each side of the line.  Press
well and remove the paper backing.  Fold each long edge in to the
center and press well along the DST.  
With both long edges folded to the center, add one more line of DST
along one of the folded edges, then fold in half again.  Then just top-stitch
along each long edge of the handle at a 1/8" seam allowance.

Wonder clips are best for holding parts together.  Like holding the piping on and holding the ends to the main body.  Just pull them off as you sew!

Not enough time to go into the complete how-to of making vinyl piping in this post,
but if you try it, make sure you clip into the seam allowance so it fits nicely around
the curves!
I also LOVE to use glue sticks with my vinyl!  Just regular glue sticks (this one was left over from the 16 my son needed for Kindergarten last year).  I typically use the glue stick to adhere overlays and handle connectors to the bag.  Cover the entire backside of the overlay, press it in place, let it dry for just a little while, and it stays in place nicely for you to sew!


Do you interface vinyl and can you iron it?
As far as interfacing vinyl is concerned, sometimes you do and sometimes you don't!  I do not add interfacing to handles.  As long as you have chosen a quality vinyl, it will be sturdy enough to hold up for your handles.  If you think it feels a little thin, then go ahead and add a layer of fusible woven interfacing (Shapeflex SF101).  For bag that need to hold their shape, such as the Swoon Blanche that I sewed all in vinyl, you will still want to use the foam interfacing and the stabilizer in the bottom panel.  Basically, you will still interface if it is meant to give the bag shape.  If the interfacing is only intended to make the fabric a more heavy weight, then you can skip it.

I use wonder-under fusible webbing to adhere my foam to by vinyl or fabric when I'm sewing bags.  Never touch the hot iron to the right side of your vinyl, IT WILL MELT!!!  I iron the wonder-under to the vinyl from the wrong side.  Then I place the foam over the wonder-under, place a pressing cloth over the foam, and iron the foam to the vinyl.  I have pressed many different vinyls from the wrong side and haven't melted any yet.  Of course, try a scrap of your vinyl first, to make sure it can hold up to the heat.  

Wow!  That was a lot of information!  I only covered the basics here, and tried to answer all the questions I am asked most often.  I could go on all day with more specifics, but will have to save that for another time.  I hope this is helpful to you and hope that you feel a little more comfortable working with vinyl now!