
Today's guest blogger is Marci of Marci Girl Designs. Marci is an all around sewing pro! If you follow her on instagram you know what I mean. She always creates the most incredible quilts and gorgeous bags. I always love to see what she is working on, the end results are so stunning.
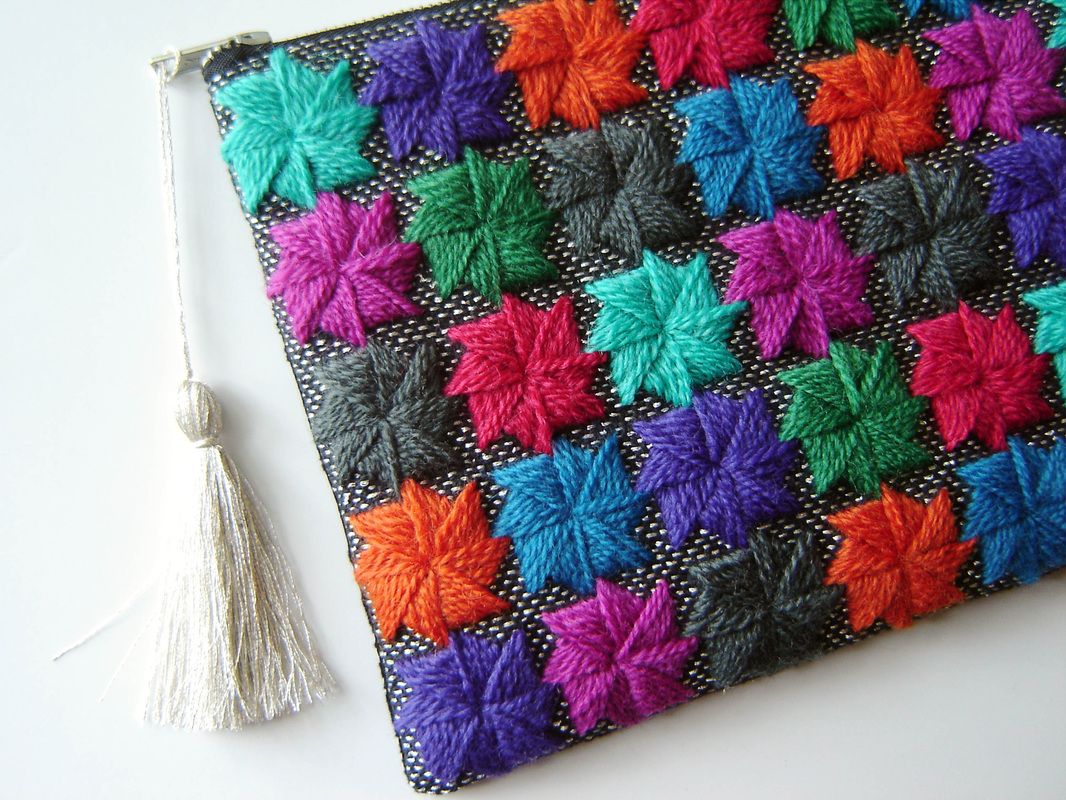 |
| Star Crossed love bag |
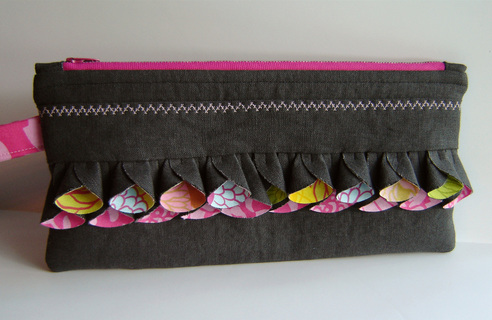 |
| Stashtacular Clutch |
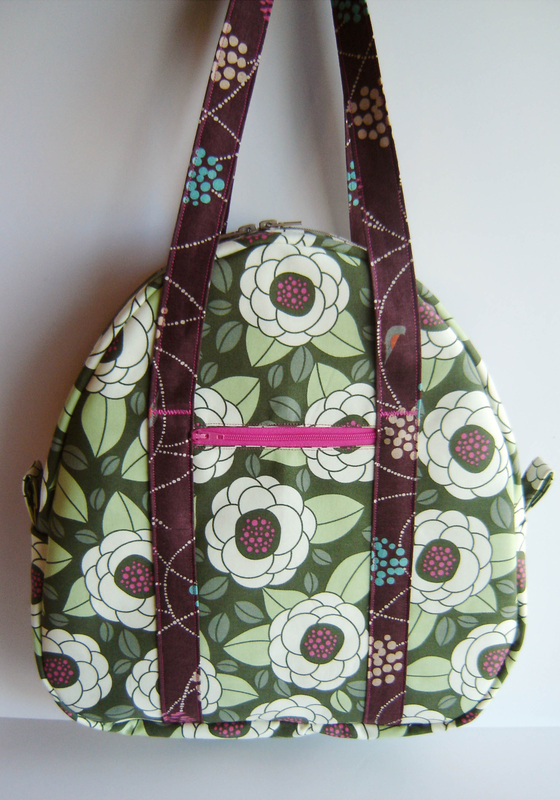 |
| Rebecca Bag |
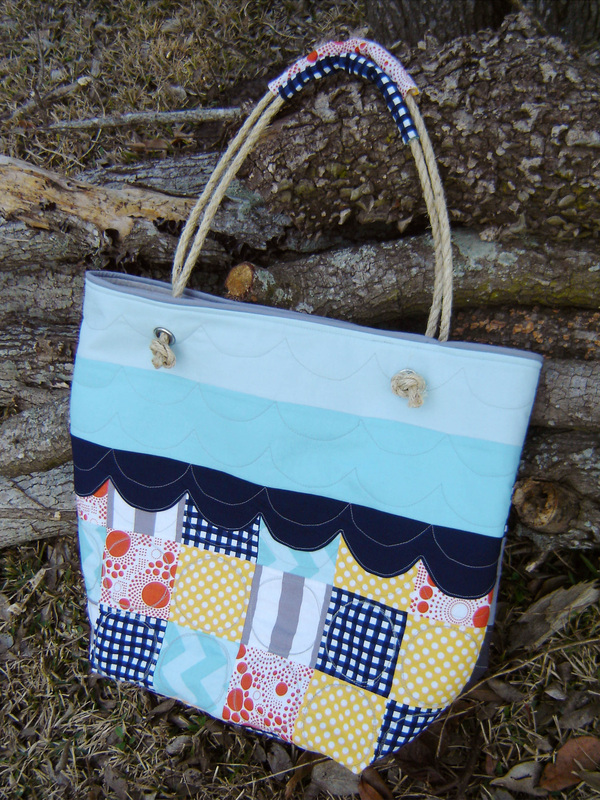 |
| Two in One Tote |
Hello, this is Marci and I'm happy to be here today. I blog at Marci Girl Designs and you can find me on Instagram @Marci_Girl. Today I want to share what seems to a be a very boring topic, reducing bulk (or maybe you have no idea what I'm talking about.) But trust me, it may seem boring but by reducing bulk in your handbags you can create a professional looking bag, it takes only a few minutes and in the end makes the sewing process easier too. Win, win.
I will start with my secret weapon, sewing scissors and pinking shears. Now many of you may not own pinking shears, but trust me, they are well worth the investment. Traditionally pinking shears are used in garment sewing and used to "edge finish" interior seams of a garment. The little zig zag that is cut on the seams reduces fraying and raveling of the finished product. That will also be the effect created in bag sewing but more importantly it helps create rounder, smoother corners and reduces bulk. Once you own a pair, you will find a million and one uses for them.
I will start with my secret weapon, sewing scissors and pinking shears. Now many of you may not own pinking shears, but trust me, they are well worth the investment. Traditionally pinking shears are used in garment sewing and used to "edge finish" interior seams of a garment. The little zig zag that is cut on the seams reduces fraying and raveling of the finished product. That will also be the effect created in bag sewing but more importantly it helps create rounder, smoother corners and reduces bulk. Once you own a pair, you will find a million and one uses for them.

Now that I have shared my secret weapon, I will talk about the different steps or parts of the bag making process and how to reduce bulk on these parts, thus creating a more professional looking bag. The following photos are process photos that I took during the process of testing a yet to be released bag pattern. The only reason I am showing these photos in this order is because this is the order in which I constructed the bag. But this order has no bearing on the information being discussed, and any of these tips can be used at any or on all steps of the bag making process.
Let's start with the interfacing, as this is really the first step with reducing bulk. Below you will see a photo that shows two pocket flaps, both in different stages of completion. The pocket flap to the left has been cut from the pattern, full size. The pattern calls for this piece to be interfaced with Pellon SF-101 which is a woven iron-on interfacing. Any time I have to cut out interfacing (iron on or sew in) I cut the interfacing smaller than the pattern piece, usually 1/4" smaller if the seam allowance is 1/2" or larger, which it is for this pattern. Two reasons for doing this: The first is obviously it reduces bulk in the final product. The second reason aids in the process of ironing. If the interfacing is smaller than the cut piece of fabric you reduce the odds of getting the glue on your ironing board or iron. See, win, win. So you can see on the flap to the left, my interfacing is cut 1/4" smaller on all sides, ironed on and then once the two flaps are sewn together (right sides together) the interfacing is still caught in the seam.
Now that the seam is sewn, it is time to trim the seam before we turn the flap to the right side. Usually a pattern will call for you to clip corners and maybe notch or clip the round edges. As you can see with the flap to the right I have clipped the corners close to (but not too close) to the upper corners, I start with cutting 45 degrees off of the corner, and then went even further and trimmed the corners on the top and to the bottom of the corner at a gradual angle. Now that the corners are trimmed, it is time to use those pinking shears. Here I trimmed all of the edges to 1/4" with the pinking shears and on the two bottom round corners I used the pinking shears to trim 1/8" from the sewn edge. By doing this you will have a smooth round corner without having to clip or notch anything. Quick and easy.


A construction technique that I almost always deviate from the pattern is when it comes time to making straps, handles and strap loop pieces like shown below. Usually the pattern calls for a 4" wide piece of fabric, interfaced, ironed in half and then the raw edges ironed in toward the middle to create a 1" wide strap. You then top-stitch on both edges, thus closing the open side and creating matching stitches on the opposite side. Any time that I can I sew a tube instead, turn the tube right side out and place the seam in the center, as shown below in the flat piece to the right. Now that the bulky seam is in the middle, you top-stitch on either side , slip on the piece of hardware, fold in half and pin. You can't even see that center seam and you didn't have to stitch through that bulk.

The photo below shows another example of this. This is a handle that was supposed to have that seam on one of the edges, but by making a small change I was able to shift that seam to the middle (which in the end will be completely hidden) This change makes sewing the handles so much easier on your sewing machine and when attaching these handles to the bag the center bulky seam is easier to attach than having that bulk on one of the edges of the handle, trust me, so much easier and creates a more evenly attached handle as well.

This bag that I was testing used both Pellon SF-101 and Annie's Soft and Stable interfacing. Below you can see that I am constructing the main body of the bag and this particular bag has rounded corners. I have already trimmed the interfacing before ironing it on. This corner right here is two layers of canvas fabric, 2 layers of SF-101, 2 layers of Soft and Stable and sandwiched in between is hand made piping, so 2 more layers of fabric, for a grand total of 8 layers of fabric. It's a lot of bulk and on these seams you just have to sew through them all. But once you have sewn this seam and are happy with the finished product and how the piping looks it is time to deal with that bulk. Look at how that corner looks below. Not very round, really bulky and when you turn this to the right side it will be a mess in the corner.

The solution is shown below. I start with trimming the Annie's Soft and Stable all the way off right up to the stitching with my regular sewing scissors. I then trim both the canvas and the piping to 1/4" away from the seam (not shown here.)

Ideally my next step would have been to use my pinking shears to trim around those corners to make a smoother corner, but for whatever reason I forgot and just trimmed the canvas and piping with my sewing scissors, shown below. Another great step would have been to trim one side of the canvas and piping 3/8" away from the seam and the other side 1/4" away from the seam creating a seam that is graduated. By creating graduated seams it reduces the bulk on the interior, which is really useful in a piece that has this many layers. Even though I didn't do that in this piece you can still see below how improved this corner is now versus how it looked in the pictures above. Much smoother, right?

The photo below illustrates just how much material was removed from trimming just one side of the sewn handbag. Look at how much bulk was removed, almost 1/2" of Annie's Soft and Stable and 1/4" of the canvas and piping material. Better for all of this bulk to be in the trash instead of in the inside of your bag.

Now that we have trimmed all that we can and finished sewing the bag it is time to turn it to the right side and see what we have to work with. At this point I was going to talk about the importance of ironing and how to use a towel to aid in this process, but since this was discussed at length on day one of this series I will direct you to read Margareth of Maggie Made Bags post and all of her wonderful advice on the subject. She really hit the nail on the head and this is exactly what I do as the finishing step with my handbags. Below you can see my finished product and I like to think it is professional looking. Nice smooth curves, just enough body because of the amount of interfacing used, ironed nice and flat. What do you think, professional looking? I hope so and I know you can do it too! Thank you for joining me today and thank you for having me Cyndi.


7 comments:
Awesome info! Thanks!
Great post! I'm currently dealing with this problem in regards to using leather as an accent on bag corners. I get trimming almost to the seam, but I have this fear that getting too close to the seam weakens it and the item might fall apart - no bueno when you are making to sell!
Great post Marci! I use my pinking shears all the time - sometimes when the layers are too thick, I pink away one or two layers at a time. Every bagmaker should invest in a good pair of pinking shears - they can make all the difference in the world towards a professional looking bag. Thanks for addressing this!
Great info!
This was a very helpful post, Marci - thank you! I don't make alot of bags, so every little tip helps!
Excellent!
GREAT tips. I've always been afraid of getting too close to the seam - but I'm a newbie and so what do I know? Now I understand the difference! Thanks so Much for this info Marci.
Post a Comment